Home Care Blog September 25, 2022

5 Low-Cost Ideas for a Kitchen Remodel on a Budget

The average kitchen remodel costs the same as an Ivy League school. But you don’t have to pay that much.

If you’ve got $68,000 lying around, you could buy a luxury SUV. You could pay for one year at Harvard. Or you could remodel your kitchen. Yup. It typically costs that much.

But unlike fancy new cars and Ivy League experiences, you can opt out of the full retail price of a kitchen remodel. Here are five low-cost ideas so you can remodel your kitchen on a budget.

#1 Keep the Cabinets, But Change the Doors

New cabinets are a big chunk of the average kitchen remodel cost (30%-35%). But most of the time, it’s only the fronts that need updating.

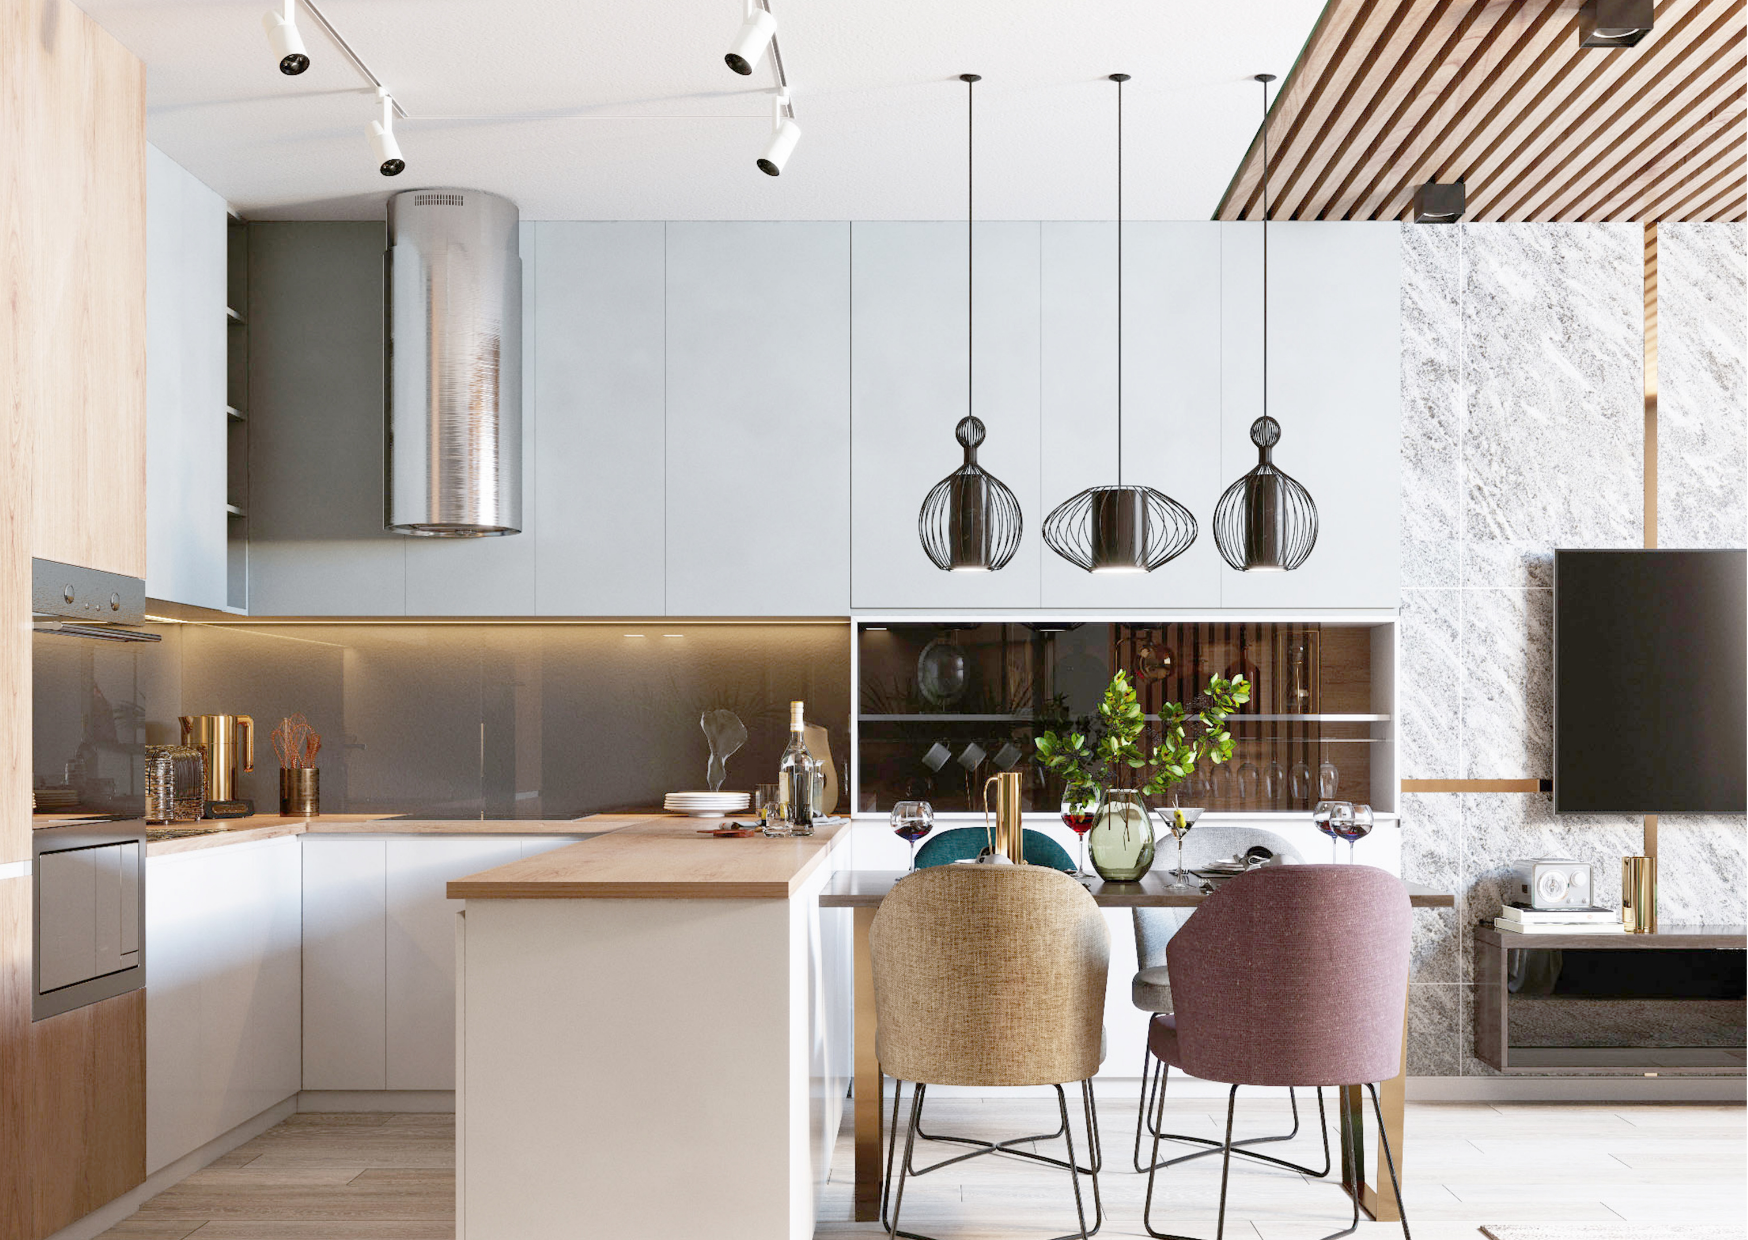
A great low-hassle way to save on pricey new cabinets is to buy only the fronts from a manufacturer, like these gorgeous blue ones that were installed on existing cabinets.

Or, if you’re into DIY, save even more, possibly spending only a few hundred dollars by:

  • Repainting or staining
  • Adding new trim or molding
  • Removing doors for an open-shelf look

Don’t forget new kitchen hardware, a tiny, affordable change — even if you don’t change your cabinet fronts.

#2 Stencil Outdated Tile Instead of Replacing It


Tearing out old tile and replacing it with new can get expensive. To free up some serious room in your budget, just paint it.

Tile stencils are easy to find online, and it only takes a little prep-work to get your tiles ready. You’ll be done in less time than it would take to pry half the old tiles off the wall.

#3 Use DIY Kits to Update the Lighting

One of the easiest and most affordable ways to update your kitchen is to use a recessed lighting conversion kit — no electrician required.

The kits only cost $15-$20 each and are a cinch to install, even for DIY newbies. The parts screw right into the recessed light, a brace holds the new light fixture in place, and a decorative cover hides the recessed light.

In about 15 minutes, you’ve got dramatic new kitchen lighting.

#4 Paint the Floor Instead of Replacing


If you have an old wood floor or have pulled up your old flooring only to find subflooring (rather than the beautiful hardwoods you were hoping for), try paint.

It might seem a shame to paint wood floors. But professional refinishing can cost as much as $2,000, while painting costs $200 — or less, depending on the size of your floor. That makes it one of the most budget-friendly kitchen updates you can do .

For the most durable results, use polyurethane-based porch and floor enamel.

#5 Keep the Footprint, But Change the Look

Send a dingy or dated kitchen down the disposal with two updates that make a big impact: a new backsplash and countertop.

Together, they cover an awful lot of surface area, setting the stage for a totally new kitchen look.

A little paint on those cabinets, and it’s like a brand new kitchen.

The countertop pictured is quartz, a timeless choice, but if it’s not in your budget, there are plenty of DIY countertop options, too.

Home Care Blog September 15, 2022

Modern Garage Paint Ideas

A new paint job can refresh your garage, no matter how you use it.

Whether you’ve just moved into a new house or want to freshen your old one, don’t forget the garage. A new paint job can turn your garage into a comfortable place to work on crafts or projects, work out, or store your overflow from the house or yard.

Beyond getting a more functional space, you can improve the mood and feel of your home. Here are some ideas to help you turn your garage into a space that will make you want to spend time there.

Select Garage Paint Colors That Complement Your Home

Choosing the right color for your garage may be simpler than you think. Look at the color and design scheme in the main rooms of your house; then find a complementary color for the garage.

Another option is to choose a color based on how much natural light the garage gets. If the light is limited, a brighter color like white could be your best bet to make the space feel larger and more welcoming.

Once you’ve picked your color, you’ll want to choose a paint finish. Look for a finish that withstands temperature changes, hides dust and dirt, and cleans up easily. Gloss finishes tend to be the best choice for garages. The high reflectivity works well with rooms with little to no natural light, and the finish is easy to clean.

Tips to Prepare Your Garage for Painting

After you’ve chosen the paint for your garage, you’ll need to do a few things before you can start throwing a fresh coat on the walls. First, you’ll need to plan for supplies and ventilation, then prep your surfaces, and get started painting.

Supplies Needed to Paint a Garage

Besides the paint, you’ll need supplies including:

  • Brushes and rollers
  • Gloves and goggles
  • Tarp
  • Primer
  • Paint scraper
  • Ladder
  • Painter’s tape
  • Sandpaper

While other items, like a power washer, might come in handy, these basics should get you off to a smooth start.

Ventilate the Garage

You shouldn’t be working with any toxic materials, but paint fumes may make you dizzy or nauseated if your garage doesn’t have proper airflow.

So, make sure you leave your garage door open when you’re painting and the paint is drying. You may also consider wearing a mask if you’re especially sensitive to paint fumes.

Prep and Clean Surfaces

Always clean your walls before painting them. That way, you’ll avoid grease, dust, or dirt buildups that would make your paint job look uneven or sloppy.

A mild detergent and a sponge should do the trick for most stains, but for larger garages or thicker buildup, consider renting a power washer.

Apply a Primer Coat

The last step to take before painting is applying a primer coat. A primer coat will not only help your finishing paint stick better, but also make the finishing coat look coherent and smooth.

Be sure to let the primer dry completely before applying your finishing coats.

Paint Multiple Coats

Always paint two or three final coats of paint. You may need more coats if you’re making a dramatic color change or painting a textured surface. Applying multiple coats will also help you avoid bare spots and improve your paint’s sheen and thickness.

Paint Your Garage Walls to Fit the Use

If you’re using only a portion of your garage, you may not need to paint every wall. That’s especially true if your garage is on the larger side.

Section off your garage based on how you use those areas. For example, you may not want to paint the walls where you park your car, but you’ll want a modern, painted look for your garage workshop.

Garage Door Paint Ideas That Make a Statement

For remodelers looking to freshen up garage doors, it’s smart to find colors that complement your home’s exterior paint and texture. That will help your garage door pop.

Then, you’ll need to consider if you should match your finish with your house’s exterior. For example, wood works well with semi-transparent oil paint.

You’ll also want to think about the material the garage door is made of. If it’s metal, you’ll be better off with oil-based paint. If it’s vinyl or fiberglass, you’ll want to stick with latex paint.

Protect Garage Floors With Paint

Because the floor will be exposed to the most dirt and traffic, you may want to use a different kind of paint that’s more durable. Specifically, consider epoxy paint or latex acrylic paint that’s designed to adhere to a garage floor.

These types of paint can handle temperature changes and humidity without cracking or drying too much, making them a great choice.

Garage Ceiling Paint Ideas That Pop

Whether you’re coordinating the ceiling color with the garage walls or going for something more distinctive, you’ll want a color that works with the rest of your garage.

Even if you might not look at it as much, the ceiling color can affect your garage’s lighting and feel. So, choose a color that doesn’t clash with your floor or walls.

Paint Your Garage Cabinets to Revive Your Space

Painting your garage cabinets can reinvigorate and refresh your garage, but choose the paint carefully. Oil-based paints will work well for wood and metal, and latex paints are better for vinyl and fiberglass.

You may also want to consider spray-on paint for a cabinet job, because it’s easier for smaller objects. If not, rolling paint will work fine.

Regardless of what you have in mind for your garage, a good paint job with a color that complements your house will set the stage.

Home Care Blog September 8, 2022

8 Super-Neat-and-Tidy Bathroom Organization Ideas


There’s a certain sense of calm and satisfaction that comes from keeping your home well-organized.

This can feel downright indulgent in the bathroom, where there’s so much to corral, and function often overrules form.

#1 Keep Things Bright, White, and Open

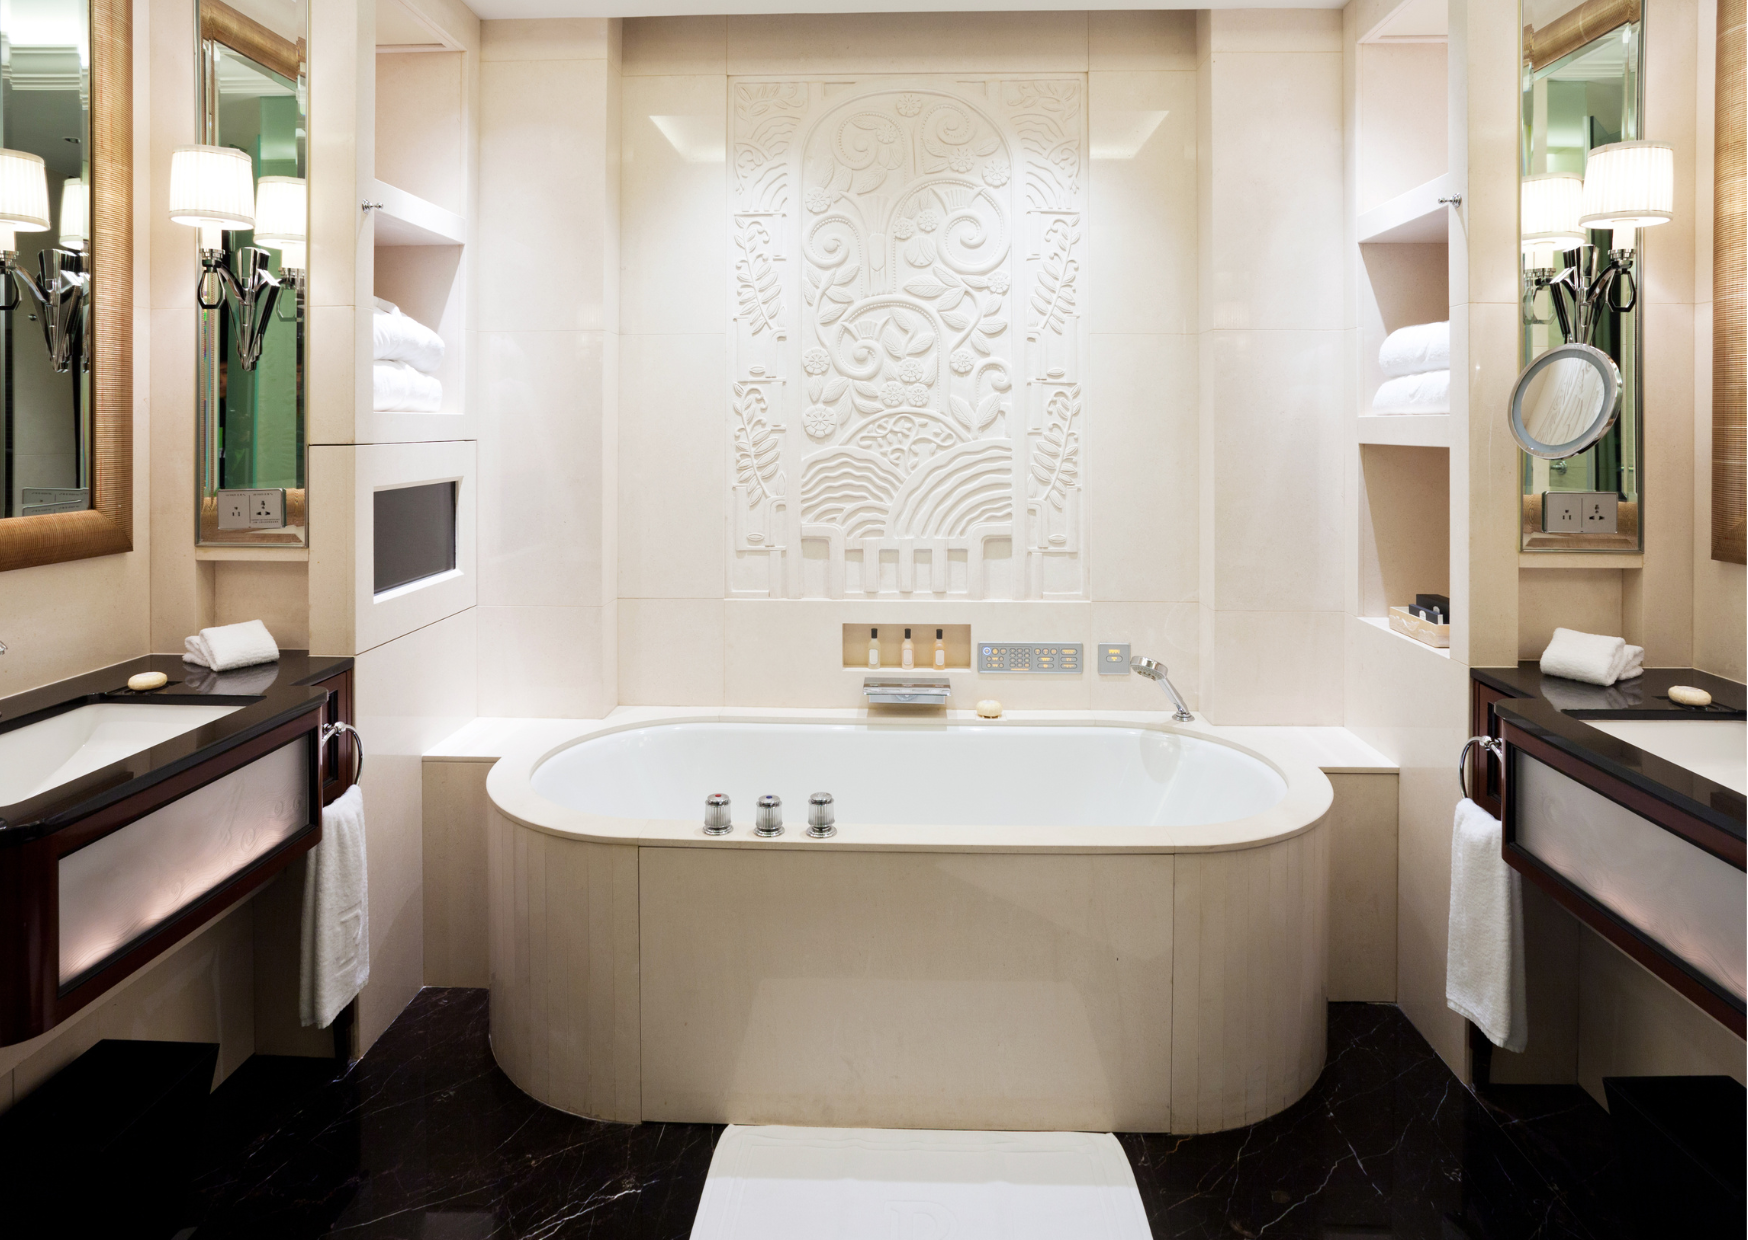
Space can be tight in the bathroom, but one trick to make it at least feel larger is to keep the color scheme bright and white.

Even better: Install some open shelving. It helps you use — but still see — every extra inch of available space. So things seem extra roomy.

#2 Tame Under-Sink Clutter with Baskets and Bins

To keep the cabinet underneath your sink from becoming a toiletries landfill, use baskets and storage containers to keep the space organized and satisfyingly symmetrical.

Clear containers with drawers make it easy to see (and get a hold of) what’s inside, plus they’re a cinch to stack — a great shortcut to make things look neat and tidy.

And if you’ve got some empty space below the cabinet itself, slide some baskets down there too. It was just a floor. Now, it’s storage space.

#3 Get Creative With Unused Space

Don’t have enough space to stash your unruly cluster of styling tools? Yes, you do. Converting the wasted space under the basin into a sneaky hidey-hole keeps them out of sight but still within easy reach.

No one will suspect a thing.

#4 Create Storage Out of Thin Air

And speaking of unused space . . .

Attach shelving to cabinet and closet doors, space that usually gets overlooked. Hanging wire baskets creates extra storage out of thin air.

Plus, it helps make all those little bathroom items super easy to find.

#5 Make the Tiny Stuff Easy to Find With Labels

A designated medicine bucket or shelf might be good in theory, but when you just need an aspirin, who has time to rifle through cold meds and Band-Aids (and cotton balls and sunscreen, and why are there chopsticks in here)?

Instead, cut down your search time by sorting things into smaller categories so everything is easy to find.

You can even do your future self a favor by labeling your bins.

#6 Spruce Things Up with Symmetry

Ahhh, that tranquil feeling that symmetry can bring. It’s a classy touch that can also be instantly calming and super satisfying.

Achieve that visceral sense of calm by using matching towels (or alternating colors), repeating textures in storage baskets, or arranging ornaments like candles in neat rows.

#7 Splurge on Built-Ins in the Shower

Wading through bottles every time you step into the shower?

Nix the awkward rack hanging from the showerhead and give your feet some breathing room by springing for some built-in shelves (with their own greenery, if you’re really feeling fancy).

You can even make it a double.

#8 Pull It All Together for a Bathroom Worth Spending Time In

A breezy color palette that feels blissfully bright and open? Check.

Peace-inducing symmetry? Check.

Easy-to-find, perfectly arranged essentials? Check.

Yup, storage really can be a work of art. Or at least it can help make your bathroom’s official vibe “serene and satisfying.”