 Facebook
 X
X
 Pinterest
 Copy Link

Creative patio lighting ideas add a nighttime glow to keep you outside.
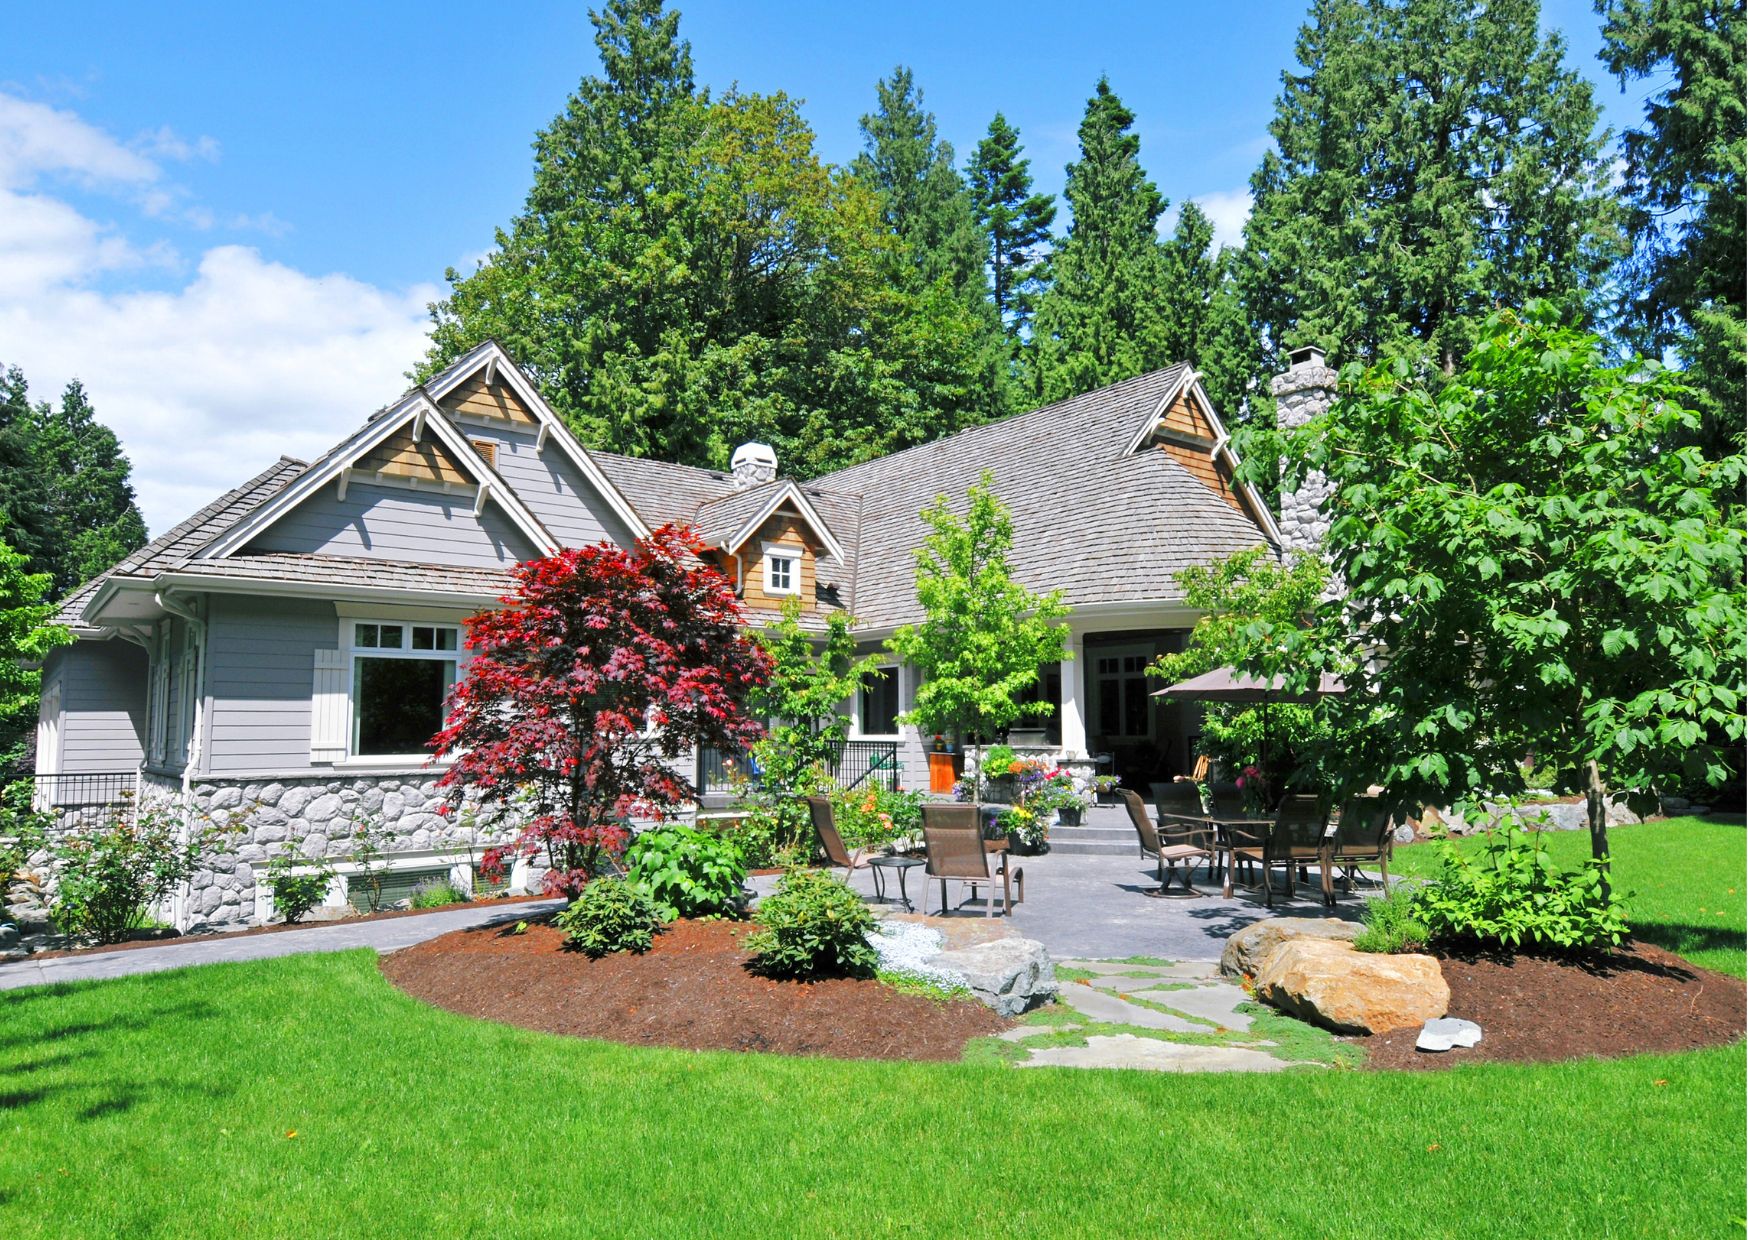
Outdoor patios are an extension of your home, perfect for gathering with guests, getting lost in a good book, or even working out. But the fun shouldn’t stop when the sun goes down or when fall brings crisp evenings and changing colors. You can spend more time doing what matters most by adding the perfect patio lights to your space (dinner under the stars, anyone?).
If you’re ready to shine some light on your outdoor space, we’ll dive into five great options for outdoor patio lights. Then, we’ll explore different approaches to setting up your patio lighting for all you DIYers. Let’s jump in!

Patio Lighting Ideas
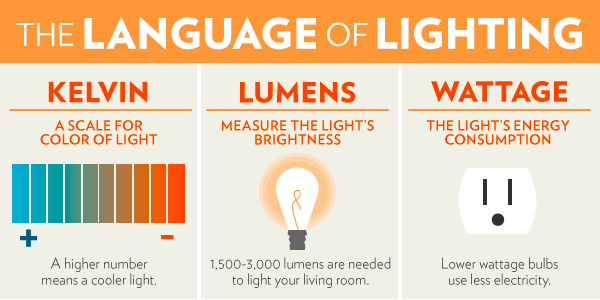
How you illuminate your patio can depend on the overall design you’re going for, your patio’s purpose, and the amount of lighting you need. Some of the most popular outdoor patio lighting ideas include outdoor pendants, string lights, and floor lights.
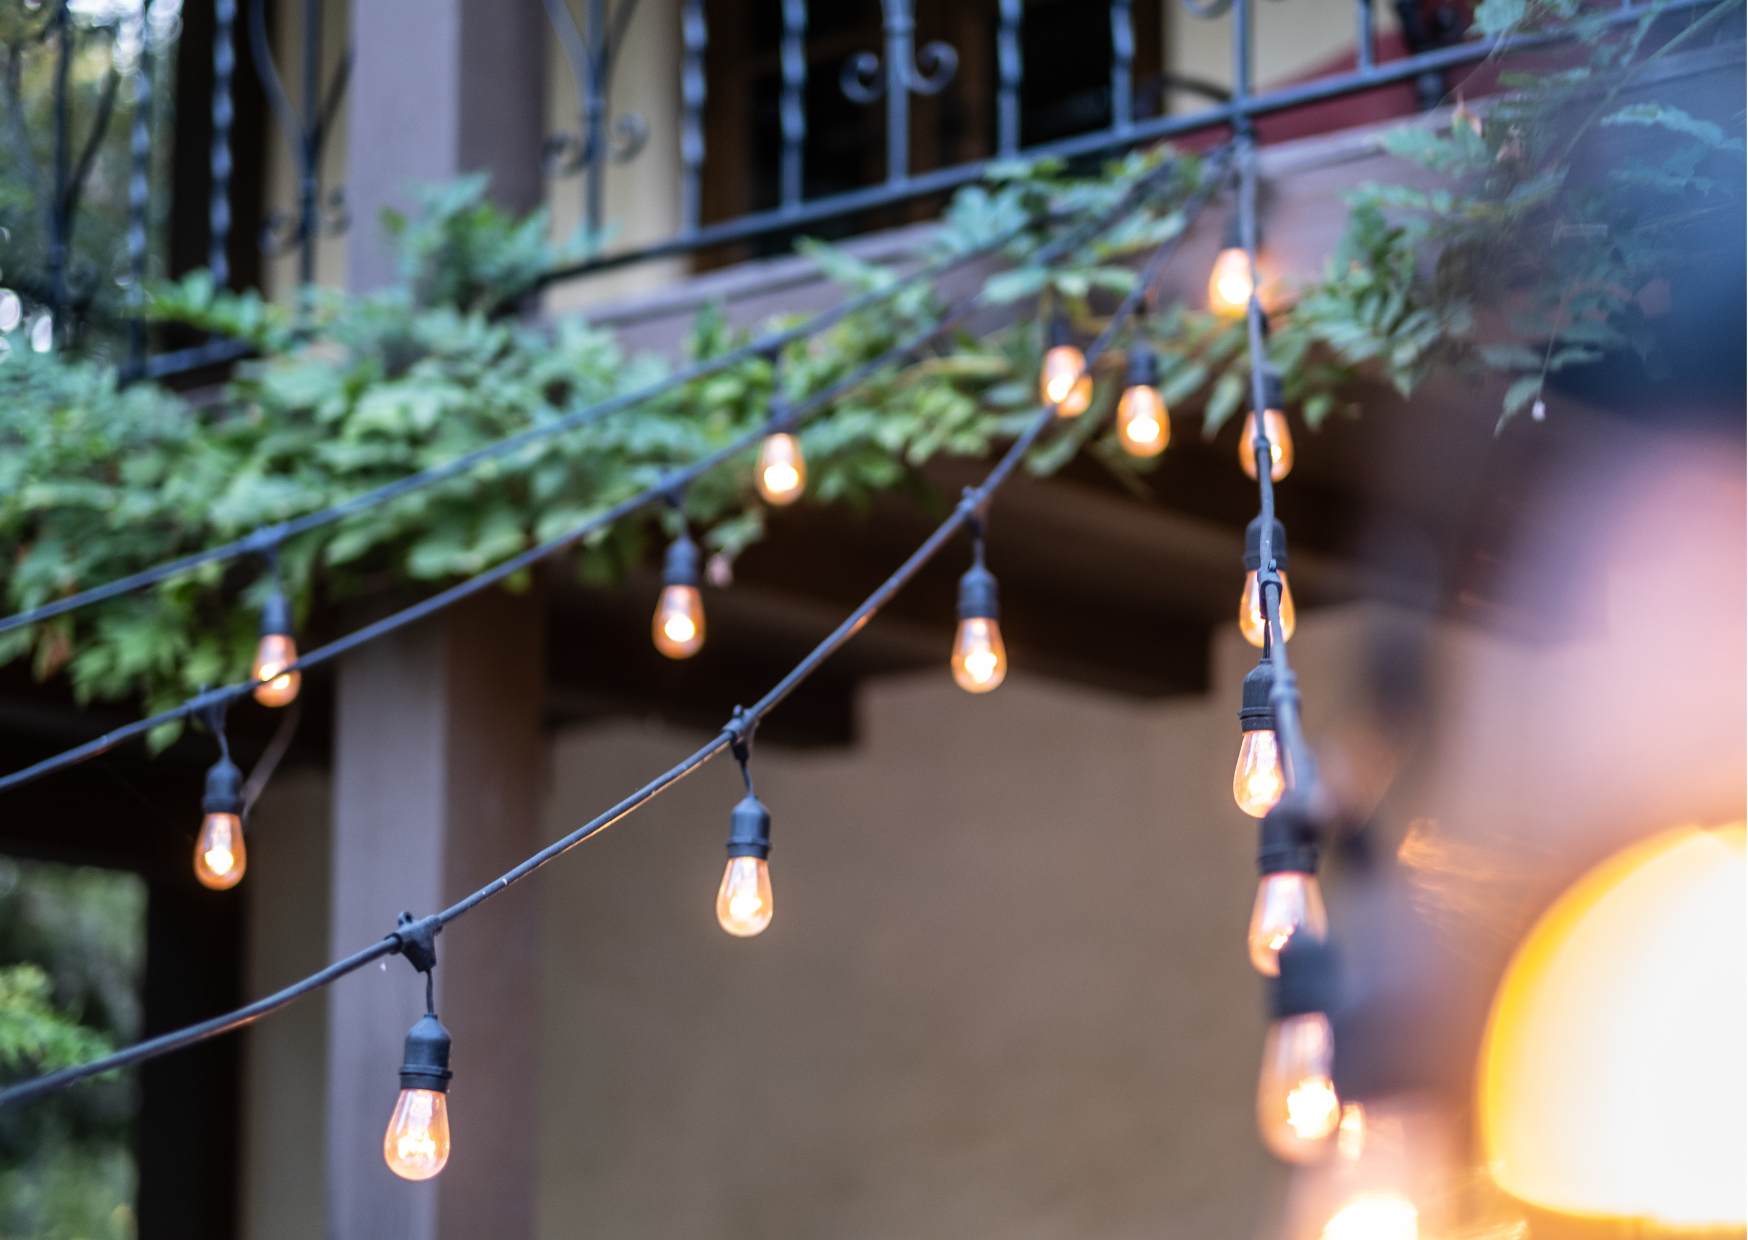
1. String Lights and Rope Lighting
String and rope lights are small electric lights placed along a cable and used indoors and outdoors. They’re ideal for stringing along your patio and deck railing, in your tree branches, or along the walls of your home. You can purchase string or rope lighting with heavy-duty wiring and sockets for outdoor use.
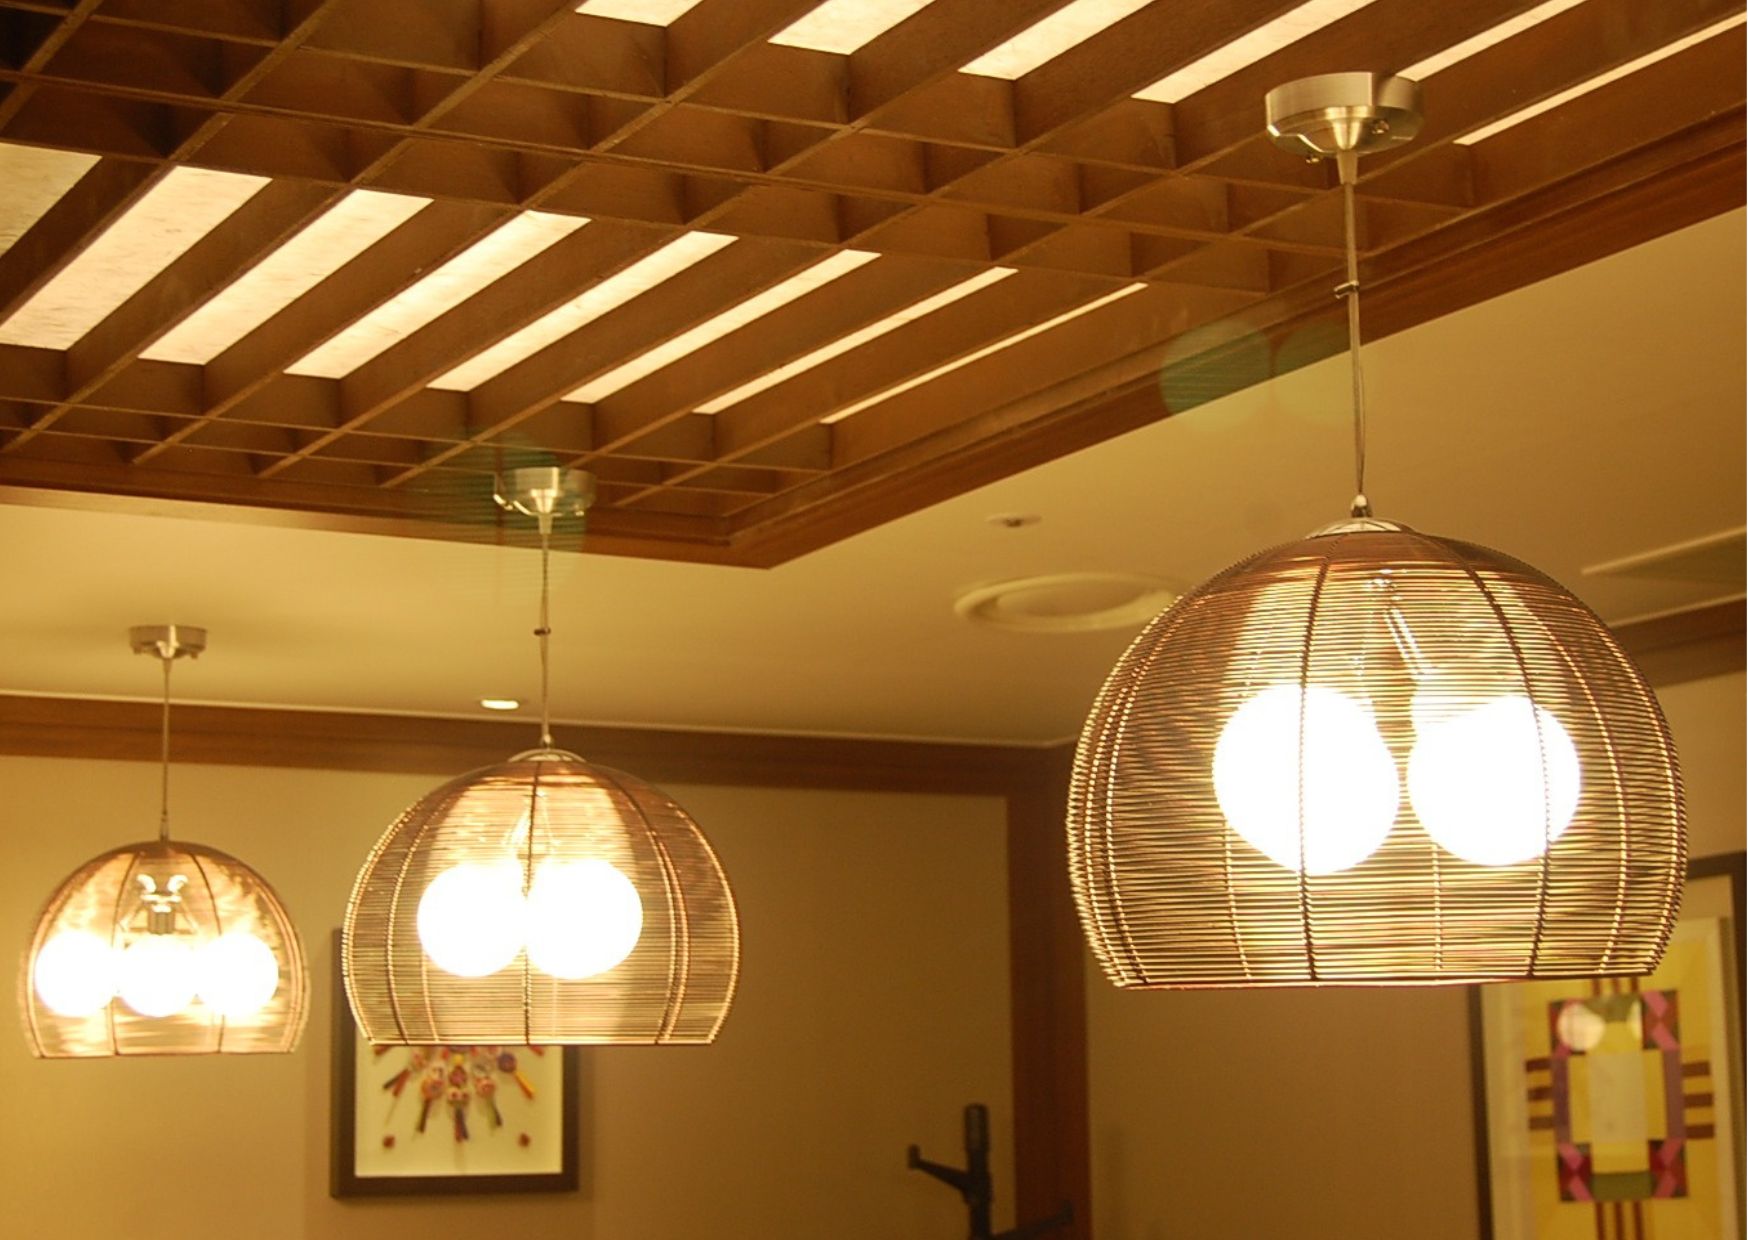
2. Outdoor Pendants
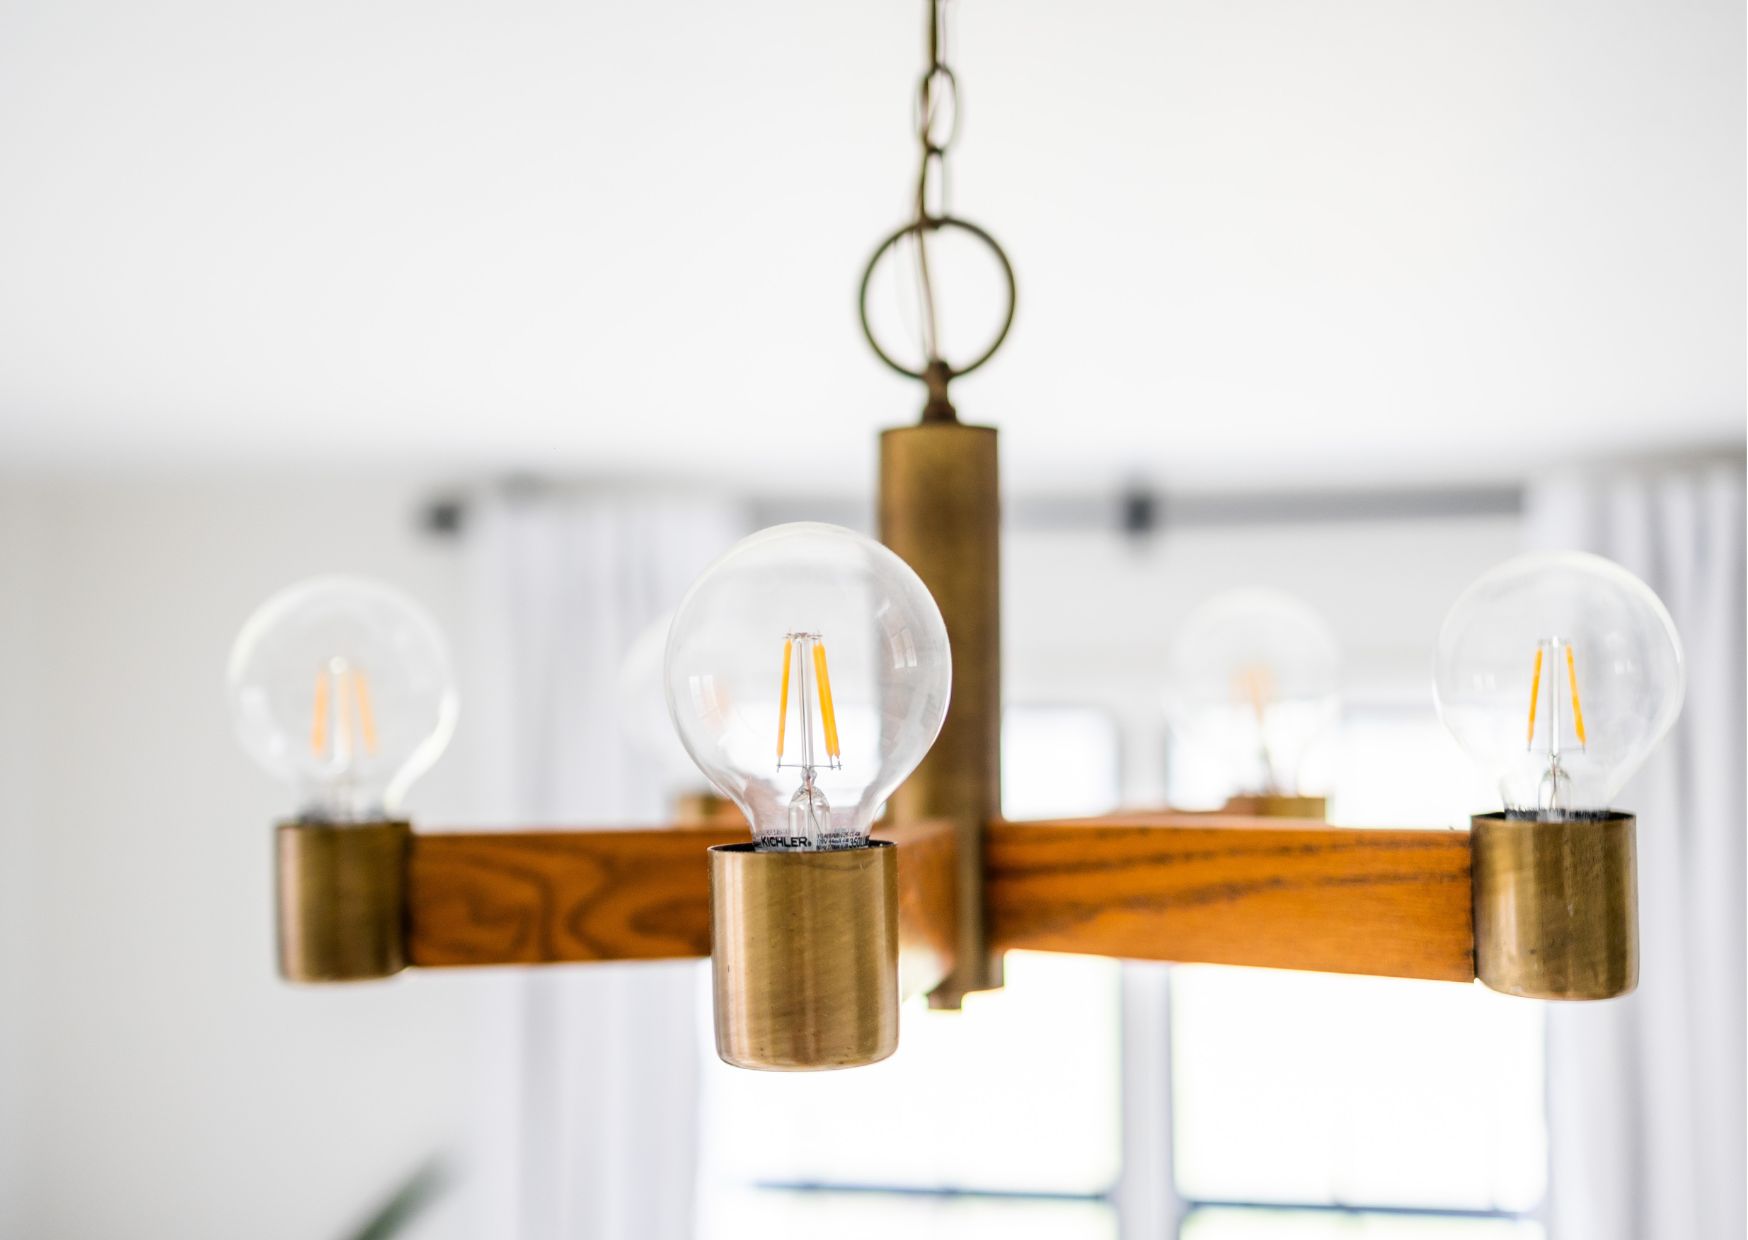
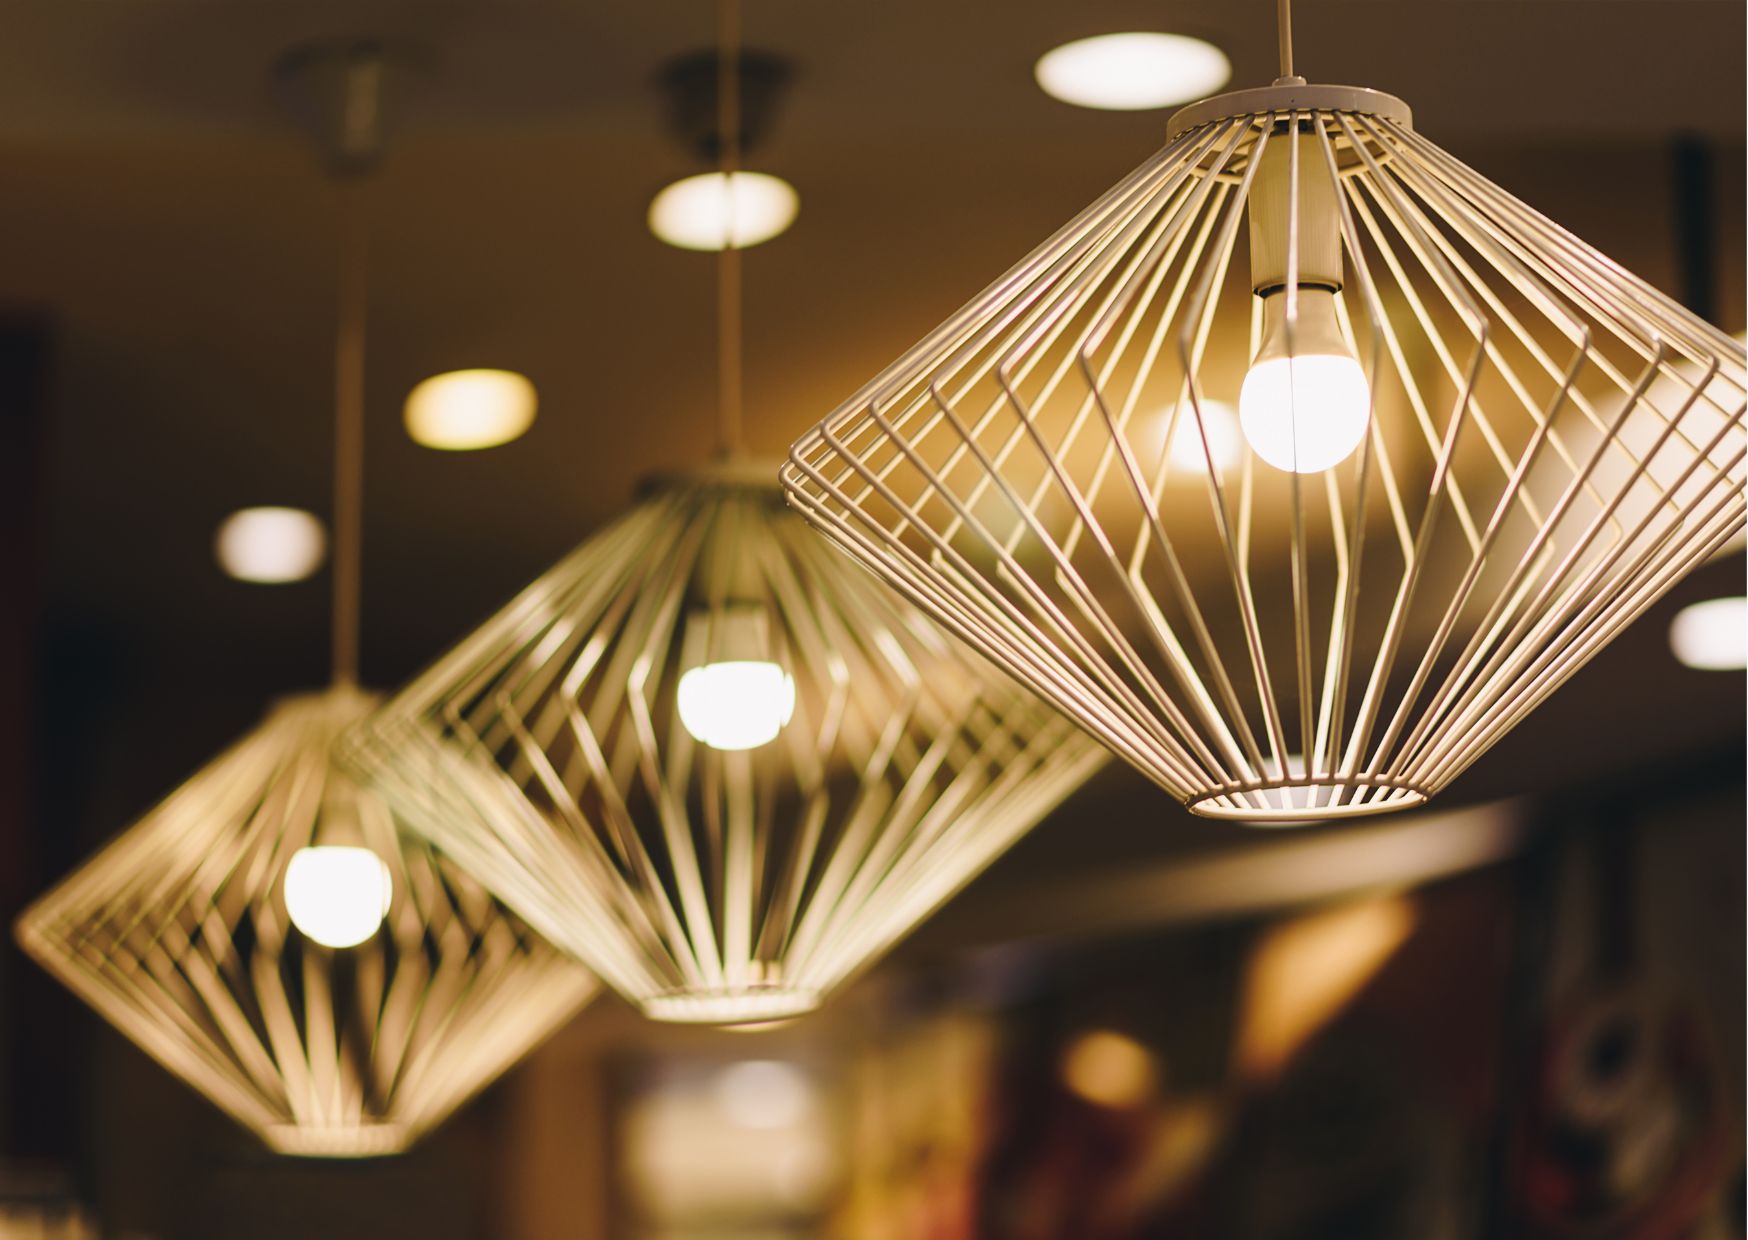
Outdoor pendant lights, also called drop or suspender lights, are hanging pendants suspended by a cord or chain. They can instantly enhance your outdoor patio with little effort. Outdoor pendant lights are available in many sizes, including full-length, large, mini, and lantern.
3. Outdoor Table and Floor Lights
Outdoor table lights and floor lights are decorative and functional ways to illuminate an outdoor living space. These lamps provide the perfect ambience for a family get-together or an intimate dinner — without blinding you.
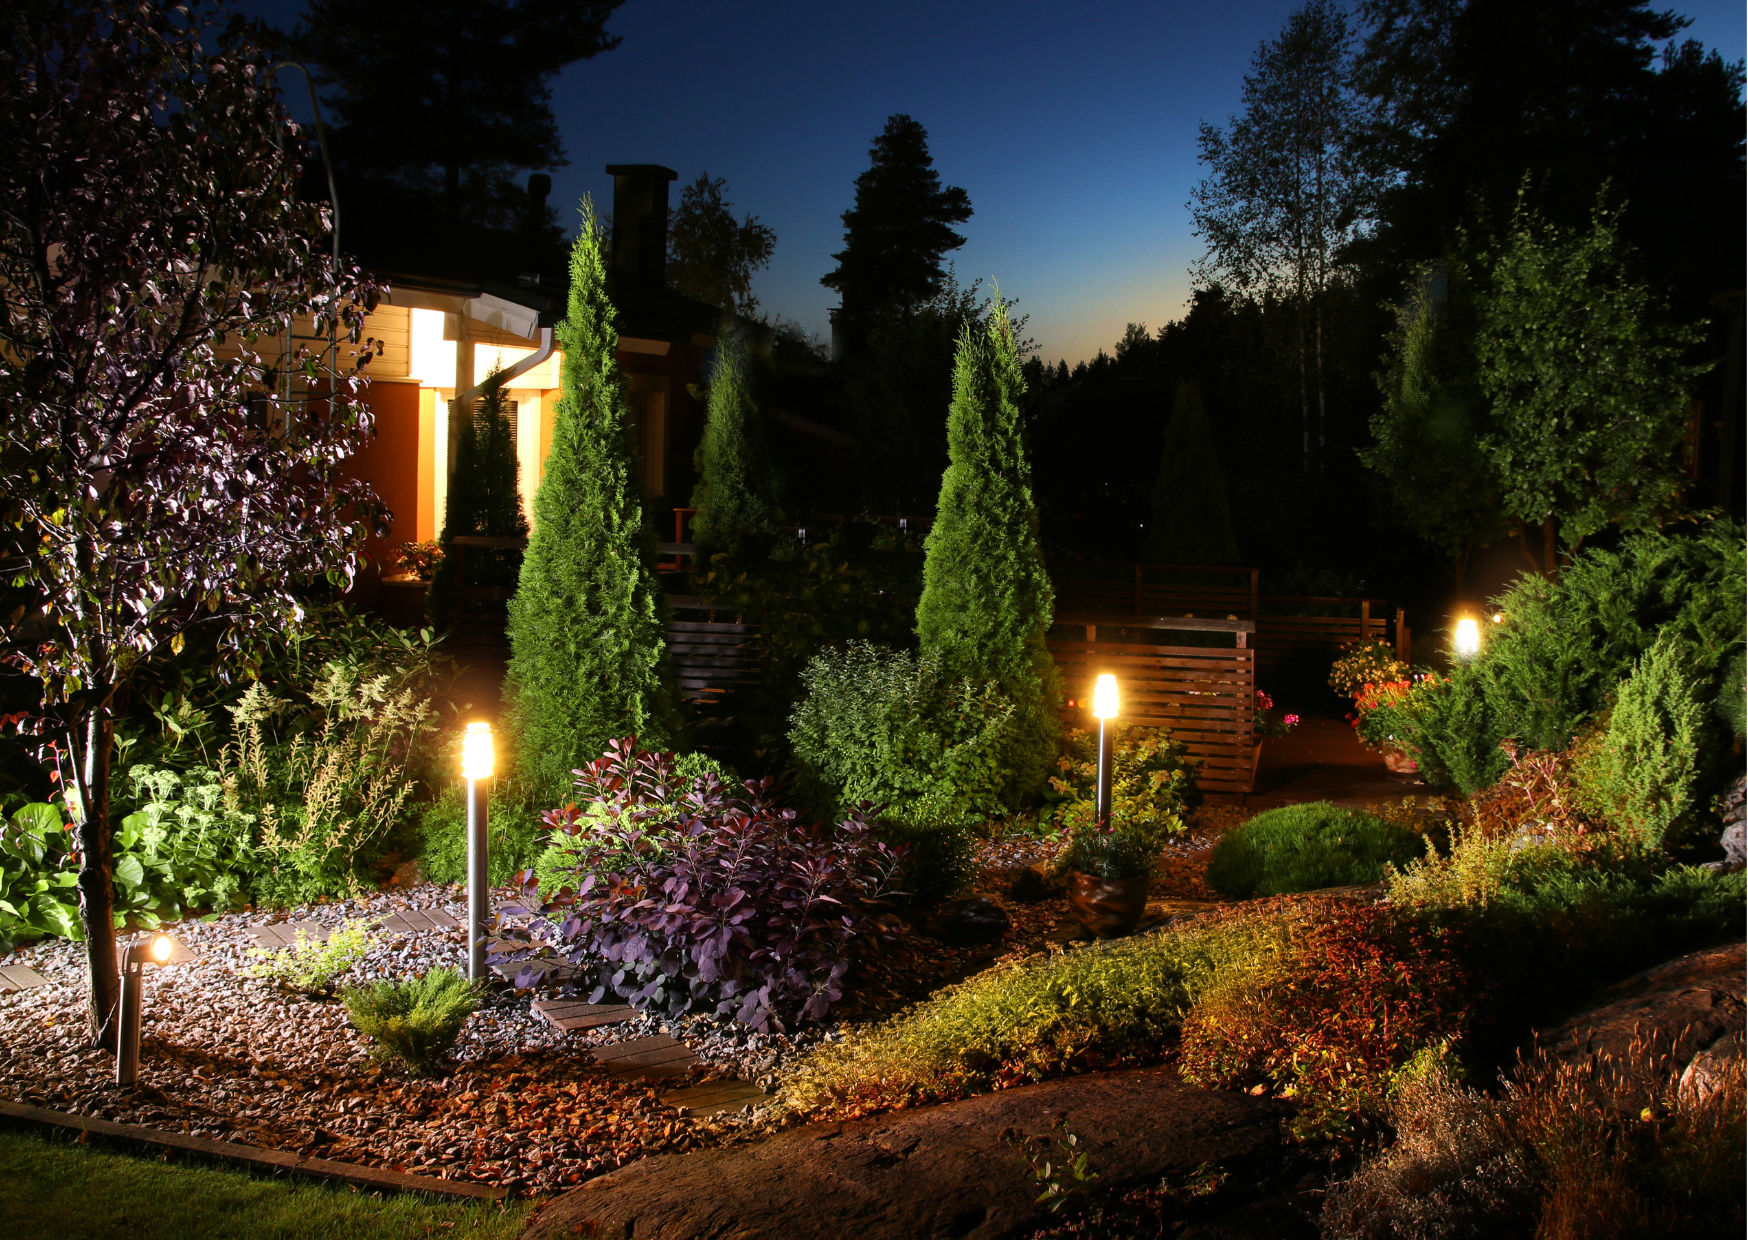
4. Pathway Lighting
Pathway lighting is best for illuminating a walkway that leads to your patio (safety first!). You can also use pathway lights to brighten driveways and footpaths or as a simple and affordable way to accent your patio steps or highlight shrubbery and flowerbeds.
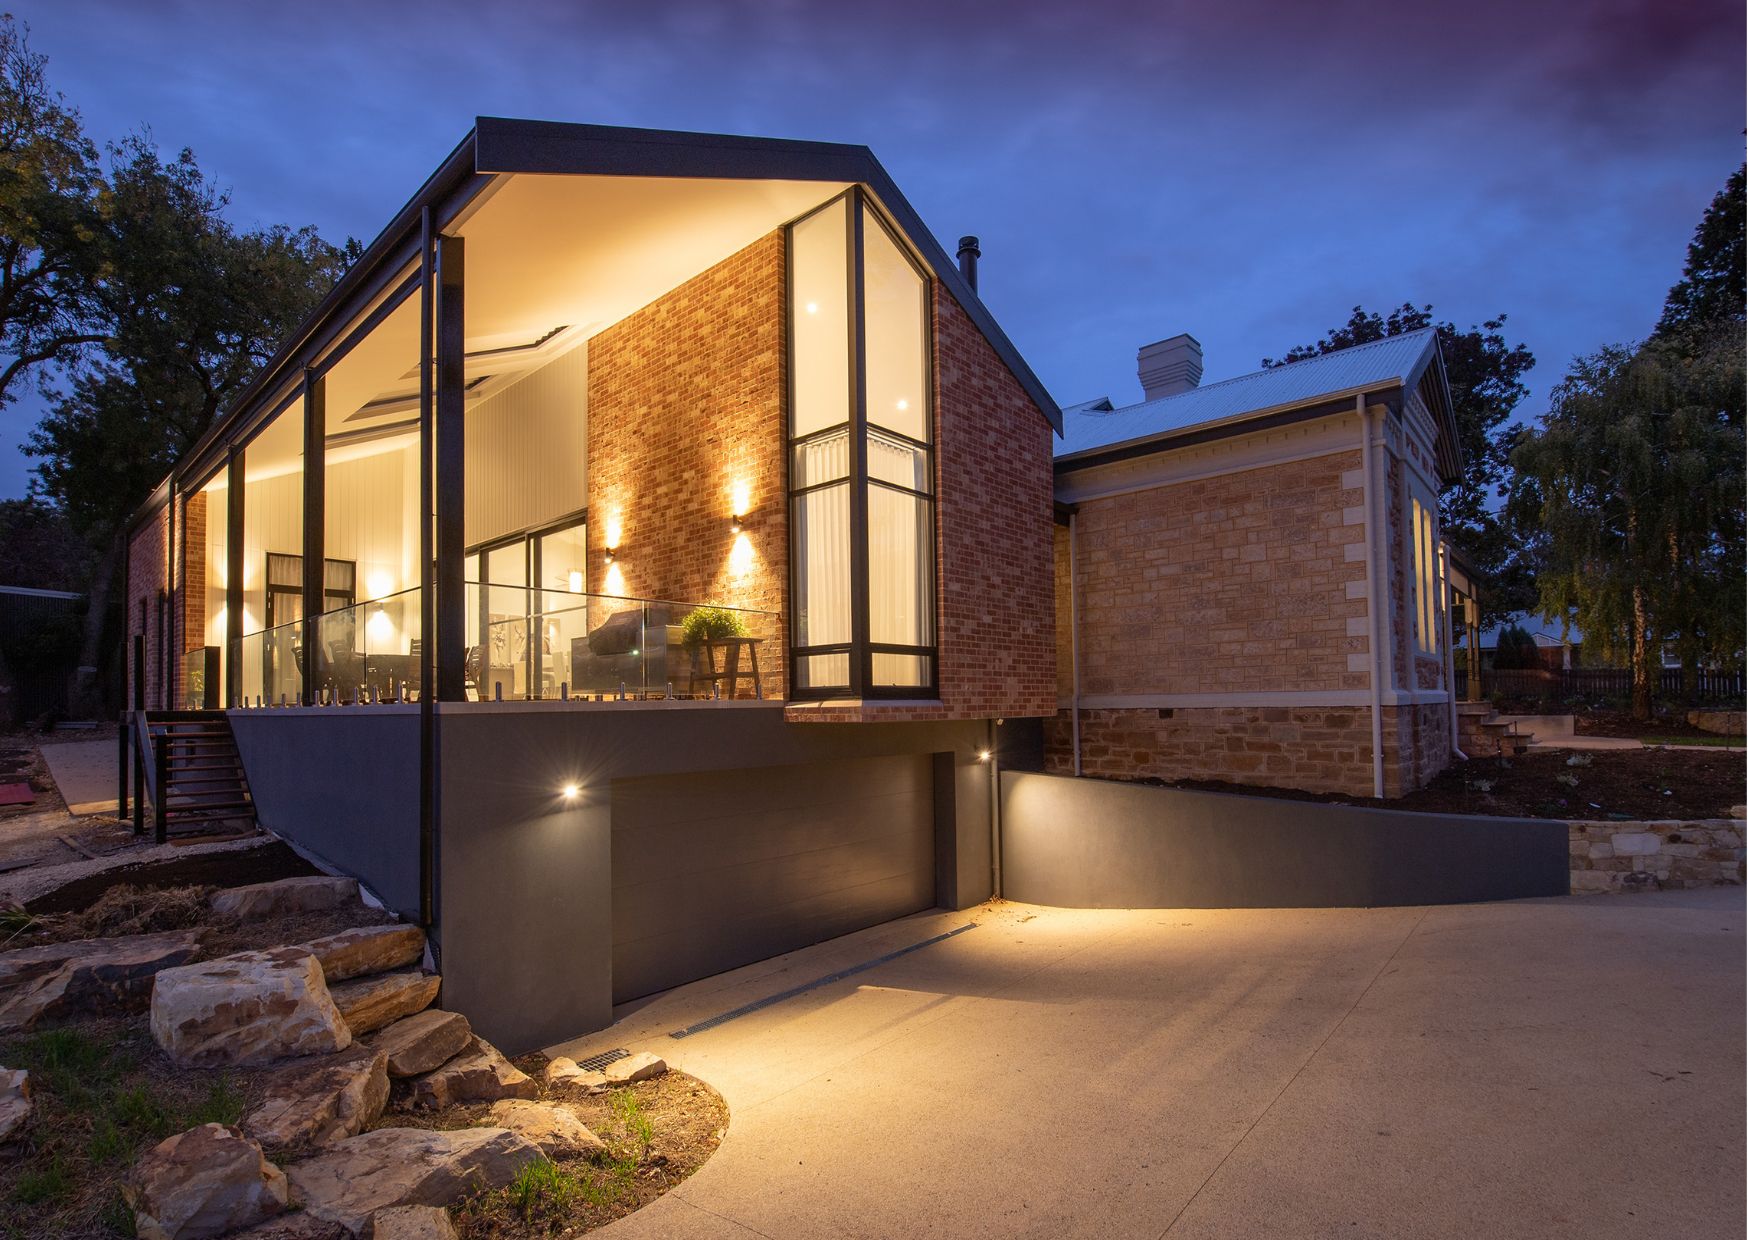
5. Uplighting
Uplighting is the effect when you place light fixtures on the ground and point them up to enhance specific landscape or architectural features. It’s a great way to emphasize your manicured landscape and garden in your backyard and shine a light on your patio area, too.
Consider This: DIY Patio Light Techniques
There are almost limitless creative techniques for setting up your patio lights, from DIY projects to energy-efficient lighting. Today’s top trends include high-level lighting with prestrung and pendant lights, tabletop lighting with candles, DIY lanterns, and tabletop fireplaces.
DIY Patio Lights
Lighting your patio doesn’t have to be expensive or time-consuming. Plenty of DIY patio lighting ideas can give you the same aesthetically pleasing outcome you see on Pinterest.
Ideas include wire basket lighting, mason jar lanterns, recycled wine bottles, and even tin cans. Since the size and shape of lighting will vary, these creative touches can make the space your own.
Use Solar
Solar lighting is energy efficient and uses sunlight to recharge during the day, so there’s no fuss with unsightly cords or wiring, or need for outlets. You can incorporate solar with a solar path light, solar LED deck post caps, solar LED floodlights, or solar string lights.
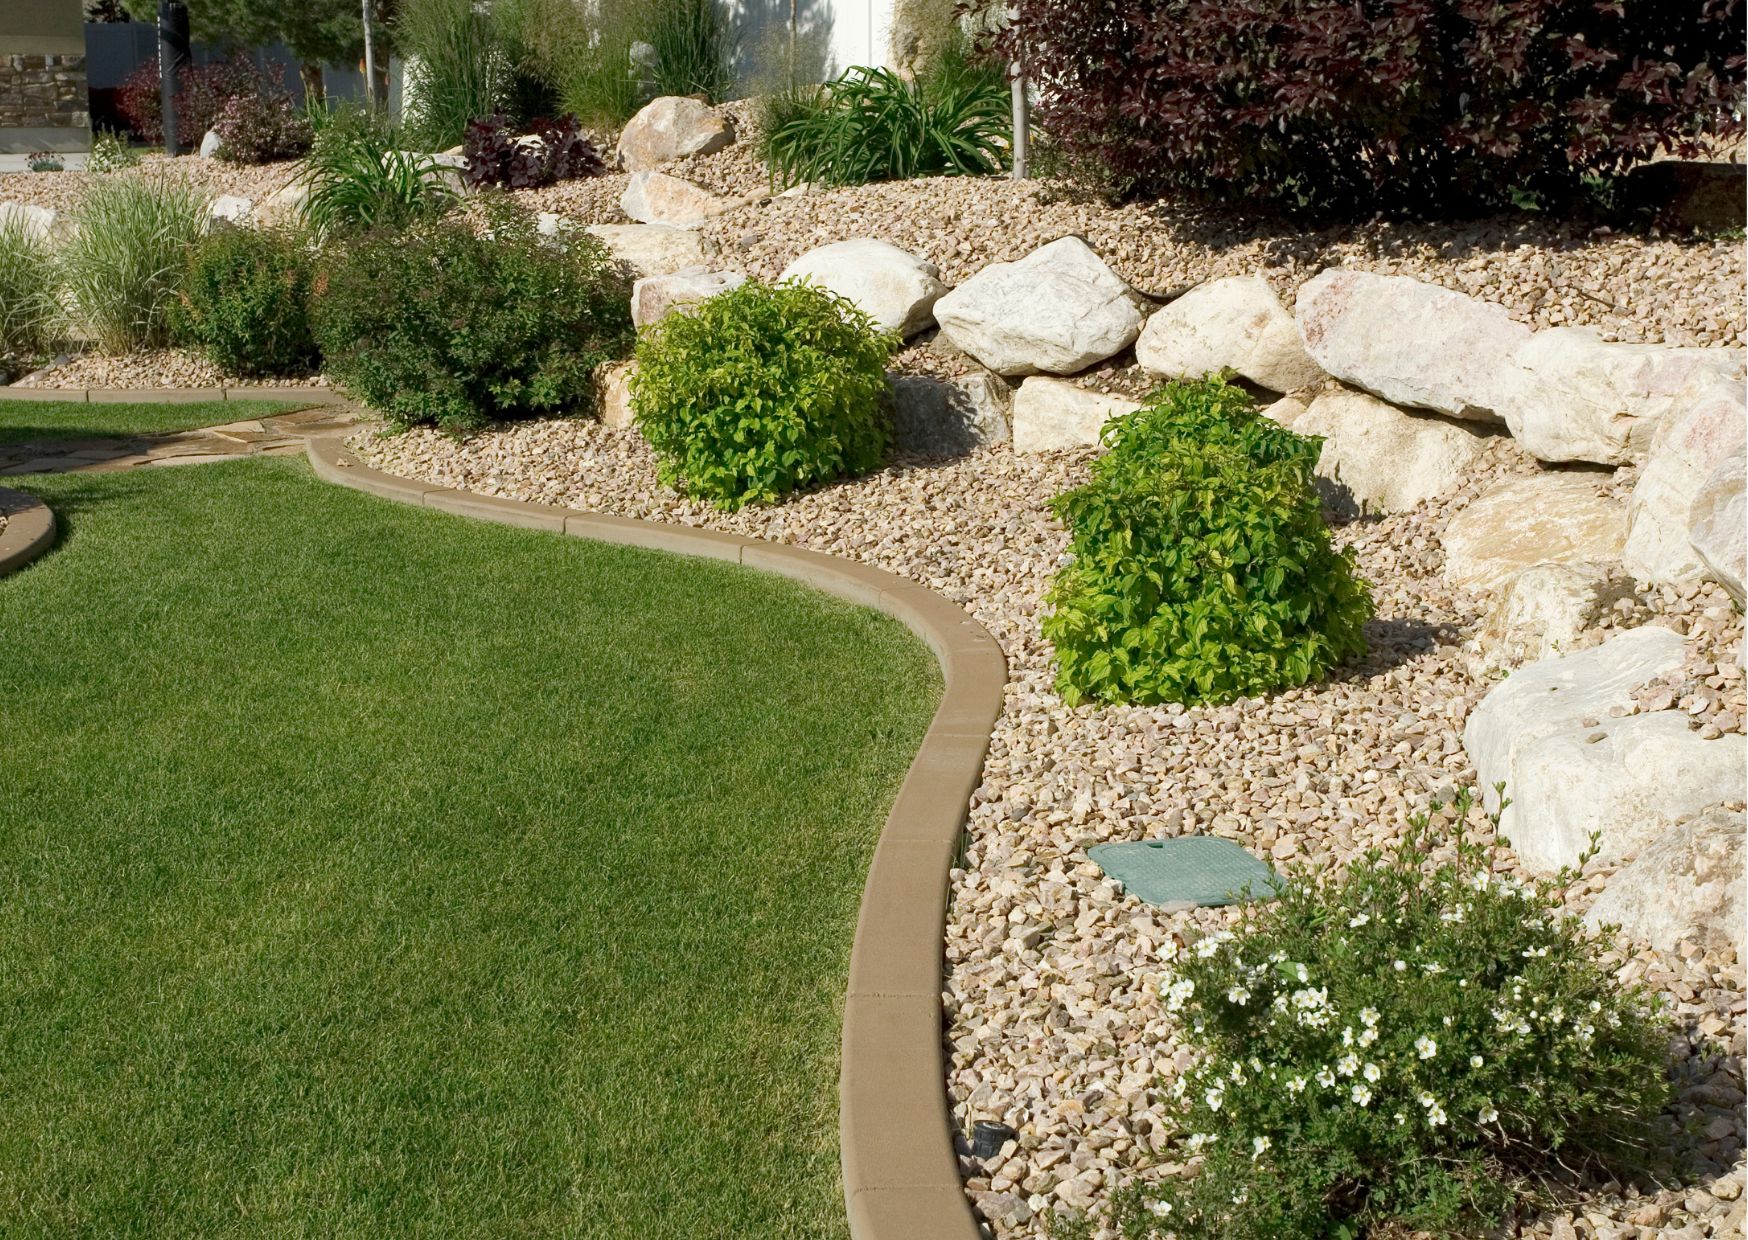
Illuminate Your Garden and Shrubbery
There’s no reason you can’t enjoy your garden and shrubbery when the sun goes down. Consider decorating your garden and shrubbery with small touches of lighting. You can weave soft lighting within your bushes, shrubs, and tree branches to create a warm look in your outdoor living space.
Consider Candles
Candles are a simple yet decorative patio lighting option that can add romantic ambience to any occasion. You can place them on your outdoor tables or alongside the steps and walkways. Candles come in so many different sizes, shapes, colors, and scents that the possibilities are almost endless.
Outdoor Patio Lights: Simple Upgrades to Improve Your Comfort and Safety
Although the purpose behind patio lights is mostly to create a more pleasing environment, you’ll want to stay safe while enhancing and using the space. That means you’ll need to:
- Consider all safety measures before you start screwing in your light bulbs.
- Check your power cords and inspect the lights before installing them.
- Choose only lights rated for outdoor use to weather the elements.
- Avoid placing your patio lighting next to flammable materials.
- Turn off your lights when you’re not using them.
Use your creativity to make your patio shine with outdoor patio lighting ideas like pathway lighting, string lights, and solar lighting. In no time, you’ll transform your simple outdoor patio space into something extraordinary that reflects your personal style.