Home Care Blog September 11, 2023

Guest Room Tips for the Warmest of Welcomes

Opening your house to guests is one of the many joys of being a homeowner. You can make guests feel welcomed and comfortable by following these simple tips.


Create the Ultimate “Flex” Room

Flexibility is key in getting the most out of your guest quarters. If you host frequently, the room will likely be used by a wide variety of people – from your high school bestie visiting with her kids on spring break to Great Auntie Edna who’s there for the holidays to your nephew who’s in town to tour college campuses. If you expect to holiday children or multiple guests at the same time, consider investing in bunk beds or at least twin beds to offer several possible combinations of sleeping arrangements. The important thing is to plan ahead and anticipate who you may be hosting. Keep this in mind when decorating the space as well. Selecting a neutral color palette (step away from that ruffled, hot pink comforter!) will ensure that everyone feels content in their home away from home.

Add Some Local Flavor

Showcase your local community by displaying the highlights or most popular features of your city. Display a coffee table book about its history or attractions. Framed postcards or other artwork that show the best and coolest spots around town will not only dress up the space, but also give visitors a little taste of what they might see and do during their stay. Go one step further and stock the dresser drawer with brochures or travel magazines they can browse through to gather ideas about an itinerary for their vacation.

Walk a Mile in Their Shoes

Want to really understand what your visitors might need? Spend a night in your guest room with suitcase in tow, and you’ll discover all sorts of little niceties that would make a difference to your guests: handy hooks for wet towels, extra blankets in the bureau, plenty of empty hangers in the closet, a convenient luggage rack, drink coasters for the nightstand, an alarm clock or even a collection of short stories for nighttime reading. Endeavoring to understand their needs from their perspective will help you play the role of the perfect host.

Feel confident when you lay out the welcome mat that those who cross your threshold will enjoy the time spent in your home. Refer to these tips when preparing for overnight guests and you’ll be sure to win points as a first-rate host.


Home Care Blog September 5, 2023

Guide to Paint Finishes (So You Won’t Waste Your Money)

Choosing the wrong type of paint finish could mean a do-over that costs twice as much.

There’s a basic rule of thumb to follow when choosing paint sheens: The higher the sheen, the higher the shine — and the higher the shine, the more durable the paint will be.

Flat paint has no shine; high-gloss is all shine. In between are eggshell, satin, and semi-gloss, each with its own practical and decorative job to do.

Here’s how to choose the right paint sheen for your painting job.


High Gloss

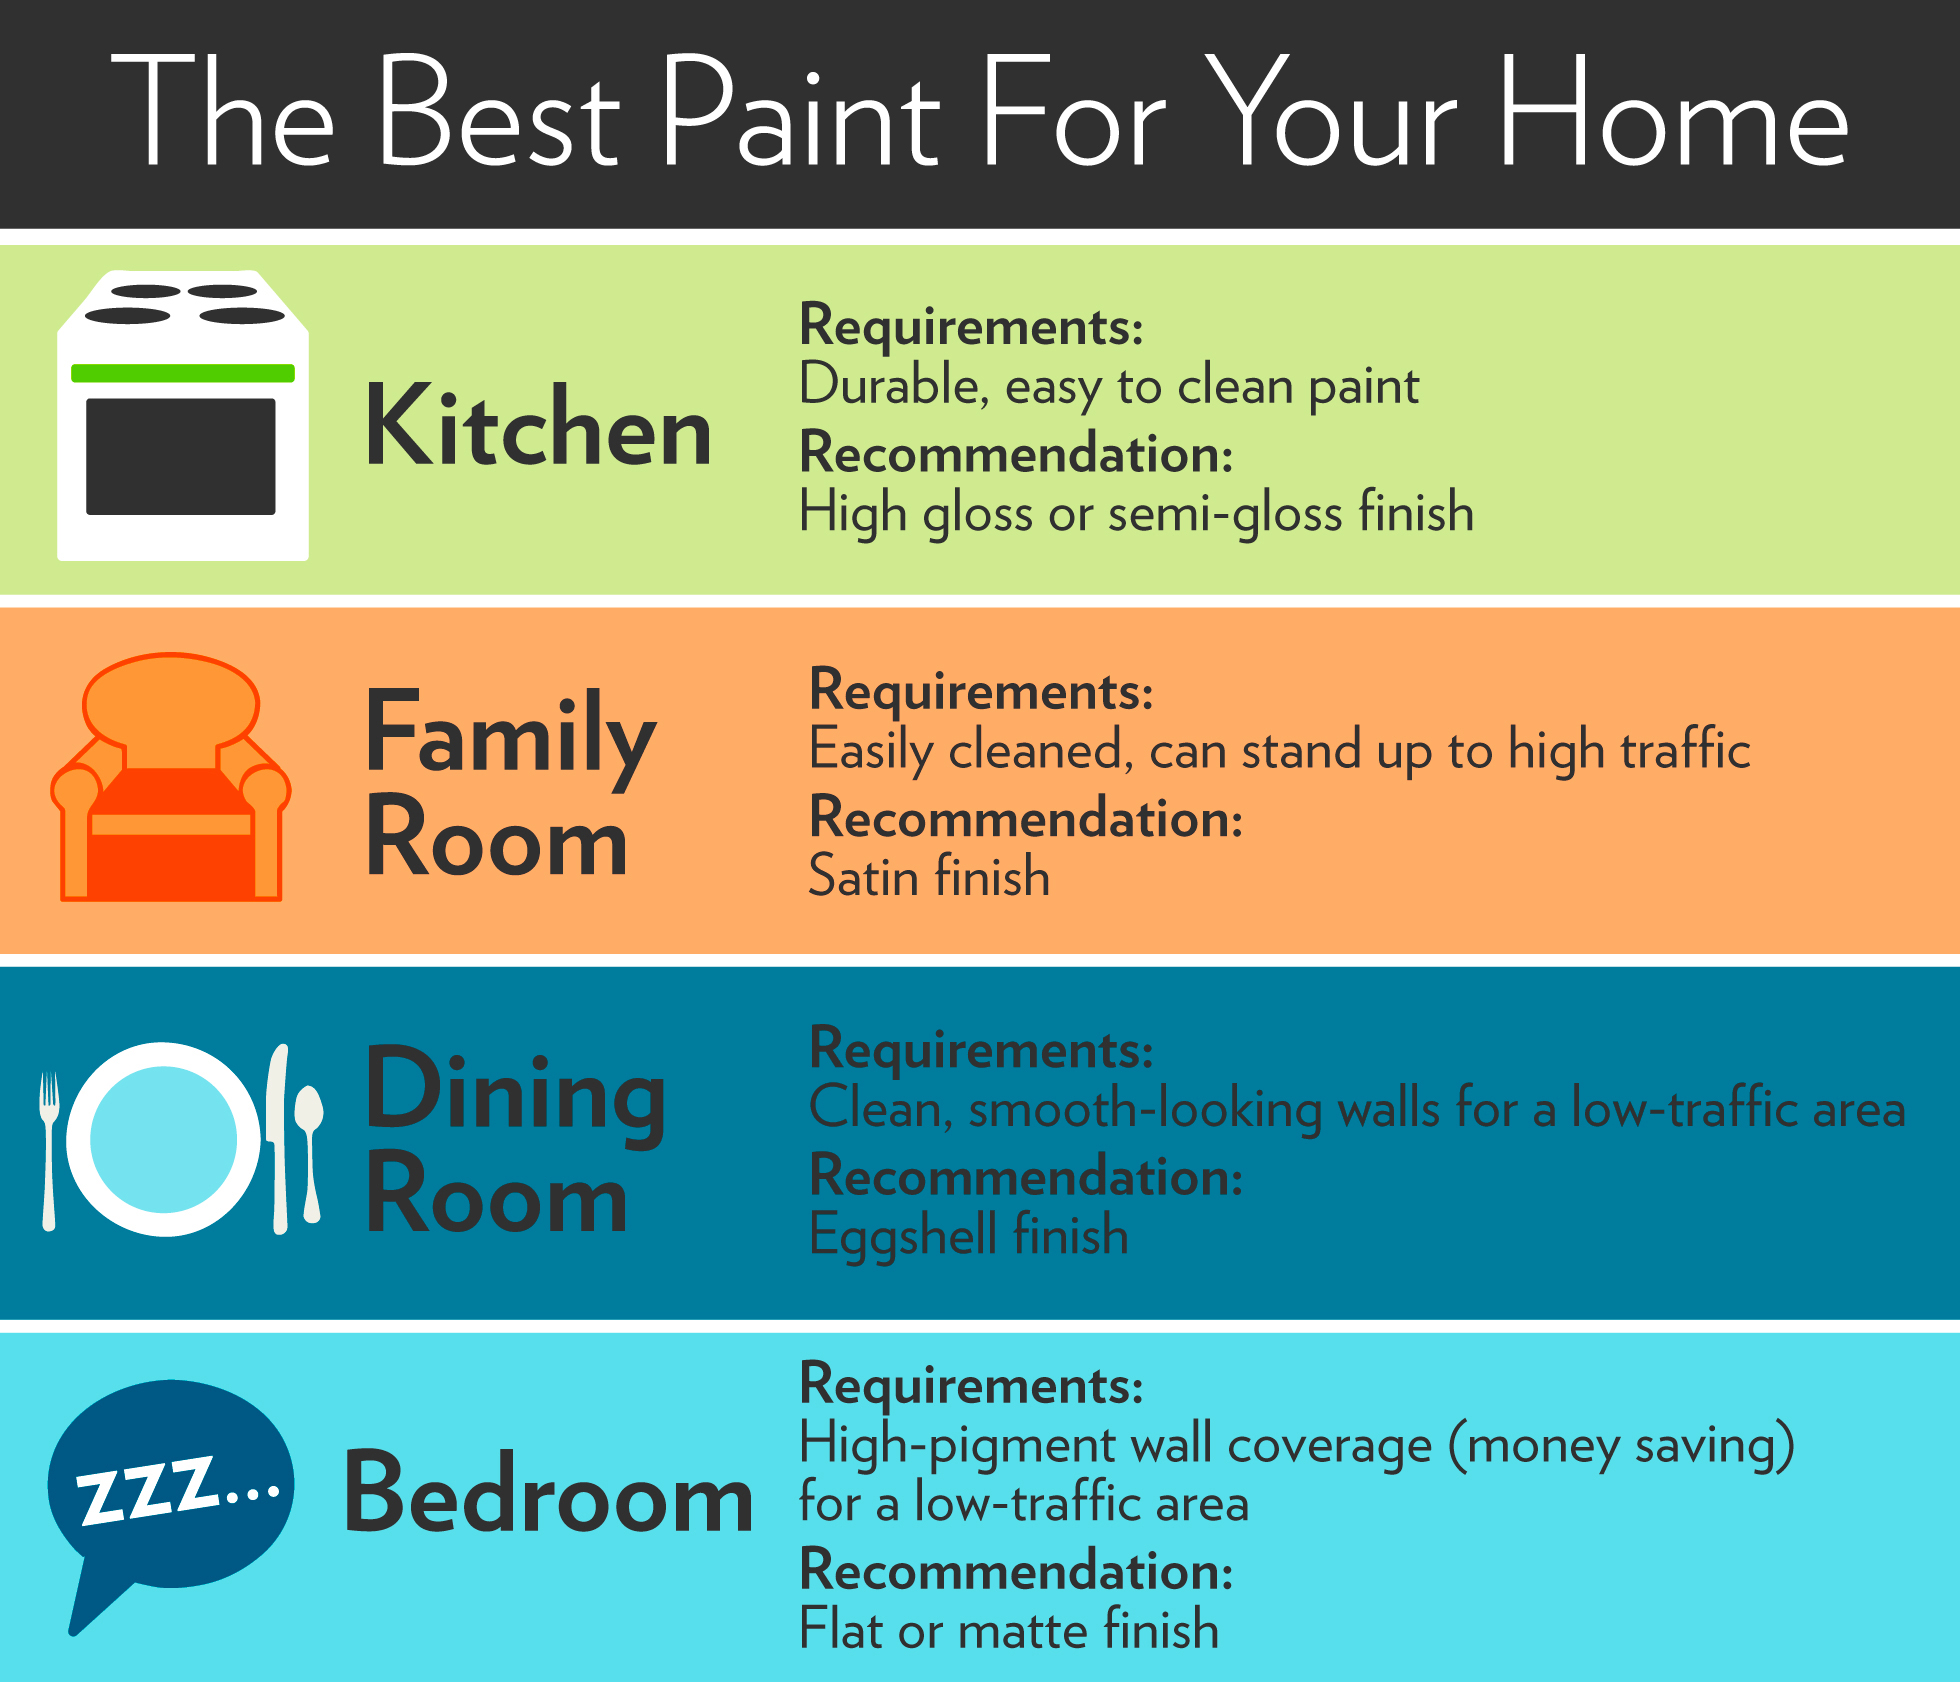
The most durable and easy to clean of all paint sheens, high-gloss paint is hard, ultra-shiny, and light-reflecting. Think appliance-paint tough.

High gloss is a good choice for areas that sticky fingers touch — cabinets, trim, and doors. High-gloss, however, is too much shine for interior walls. And like a Spandex dress, high gloss shows every bump and roll, so don’t skimp on prep work.

  • Practical application: kitchens, door, and window trim
  • Durability: very high

Semi-Gloss

Good for rooms where moisture, drips, and grease stains challenge walls. Also great for trim work that takes a lot of abuse.

  • Practical application: kitchens, bathrooms, trim, chair rails
  • Durability: high

Satin

Has a yummy luster, which, despite the name, is often described as velvety. It’s easy to clean, making it excellent for high-traffic areas. Its biggest flaw is it reveals application flaws, such as roller or brush strokes. Touch-ups later can be tricky.

  • Practical application: family rooms, foyers, hallways, kids’ bedrooms
  • Durability: high

Eggshell

Between satin and flat on the sheen (and durability) scale is eggshell, named because of its essentially flat (no-shine) finish with little luster, like a chicken’s egg. Eggshell covers wall imperfections well and is a great finish for gathering spaces that don’t get a lot of bumps and scuffs.

  • Practical application: dining rooms, living rooms
  • Durability: medium

Flat or Matte

A friend to walls that have something to hide, flat/matte soaks up, rather than reflects, light. It has the most pigment and will provide the most coverage, which translates to time and money savings. However, it’s tough to clean without taking paint off with the grime.

  • Practical application: adults’ bedrooms and other interior rooms that won’t be roughed up by kids
  • Durability: medium-low

Tips for Choosing the Right Sheen

If your paint color is dark and rich but you don’t want a super shiny effect, step down at least one level on the sheen scale. That’s because the darker and richer the paint color is, the more colorant it has, which boosts sheen. Ditto if you’re painting a large, sunwashed, or imperfect wall. The higher the sheen, the more defects will show.

Adding sheen also increases the cost, usually an extra couple dollars of per gallon as you step up on the sheen scale.

Home Care Blog August 23, 2023

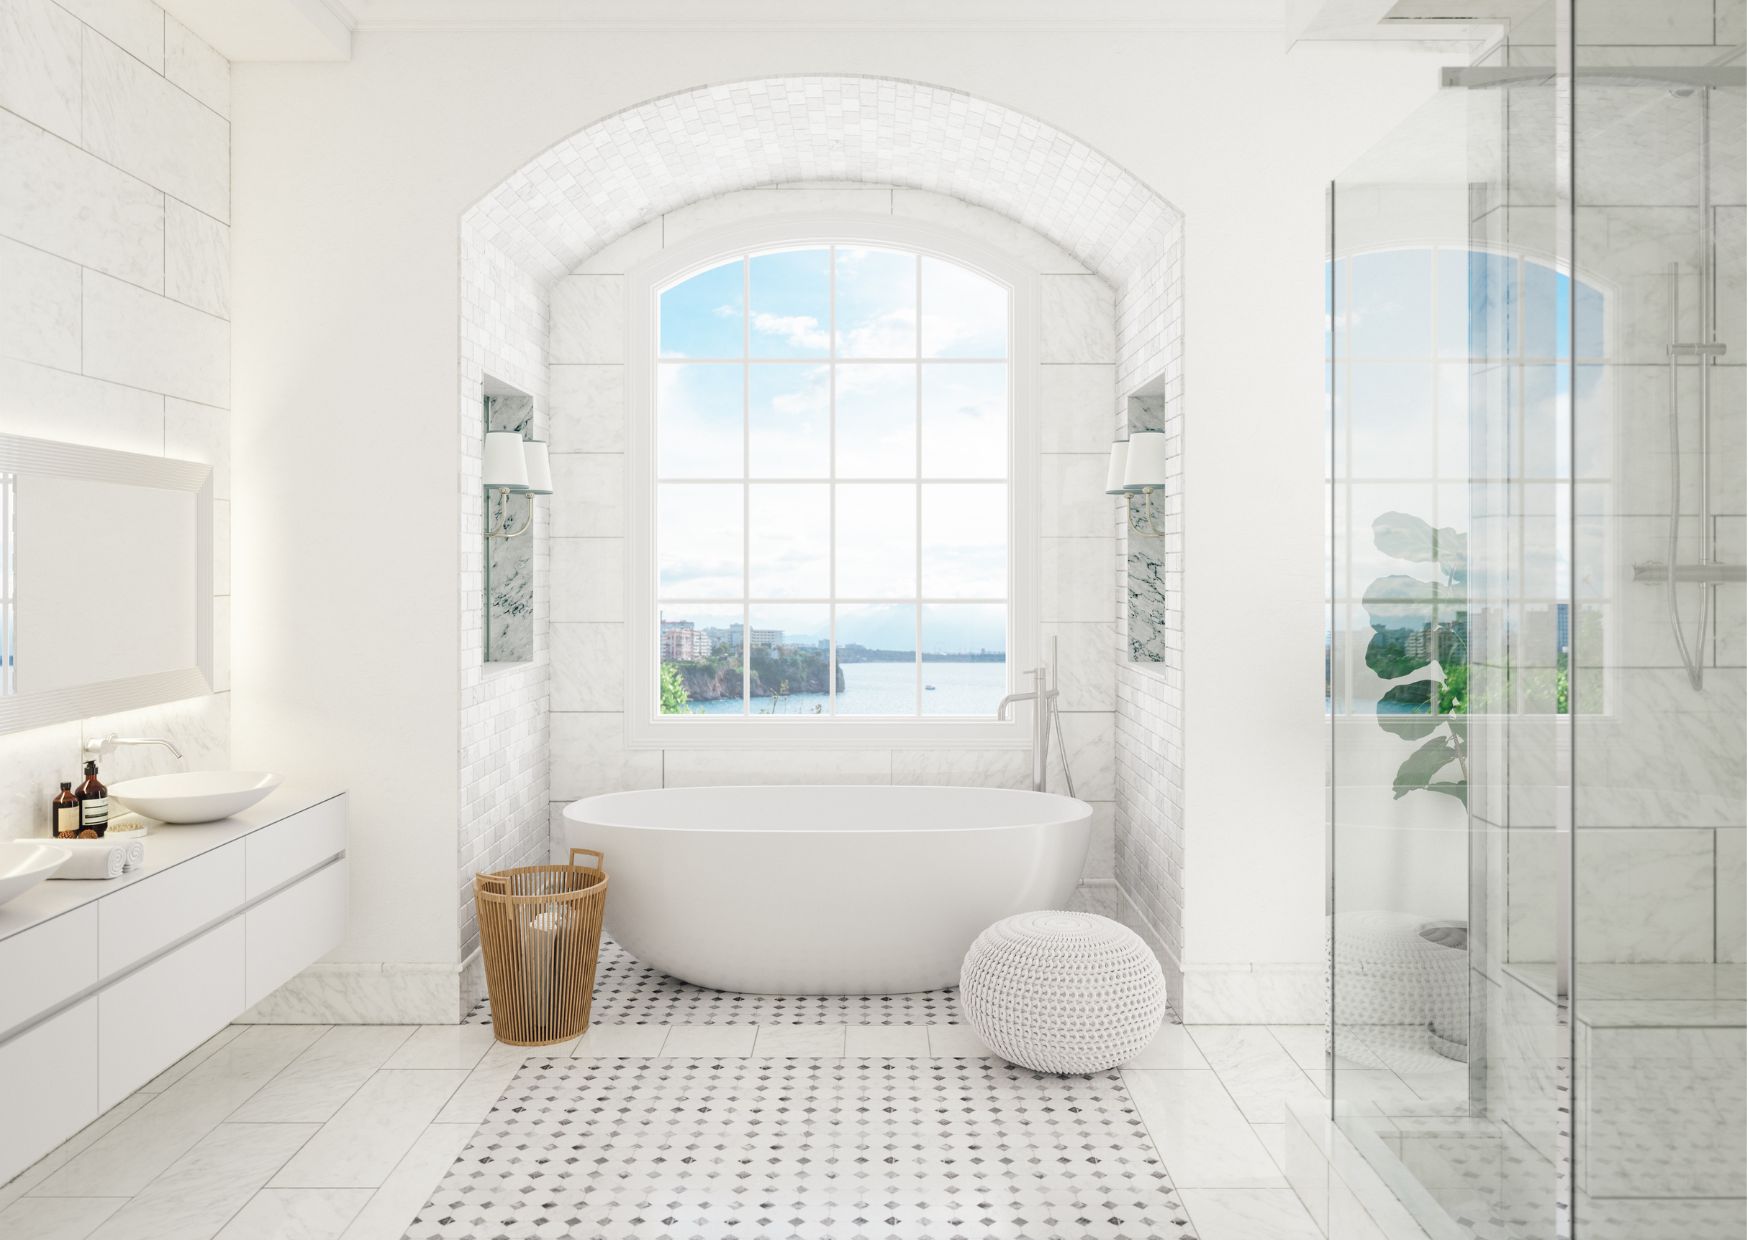
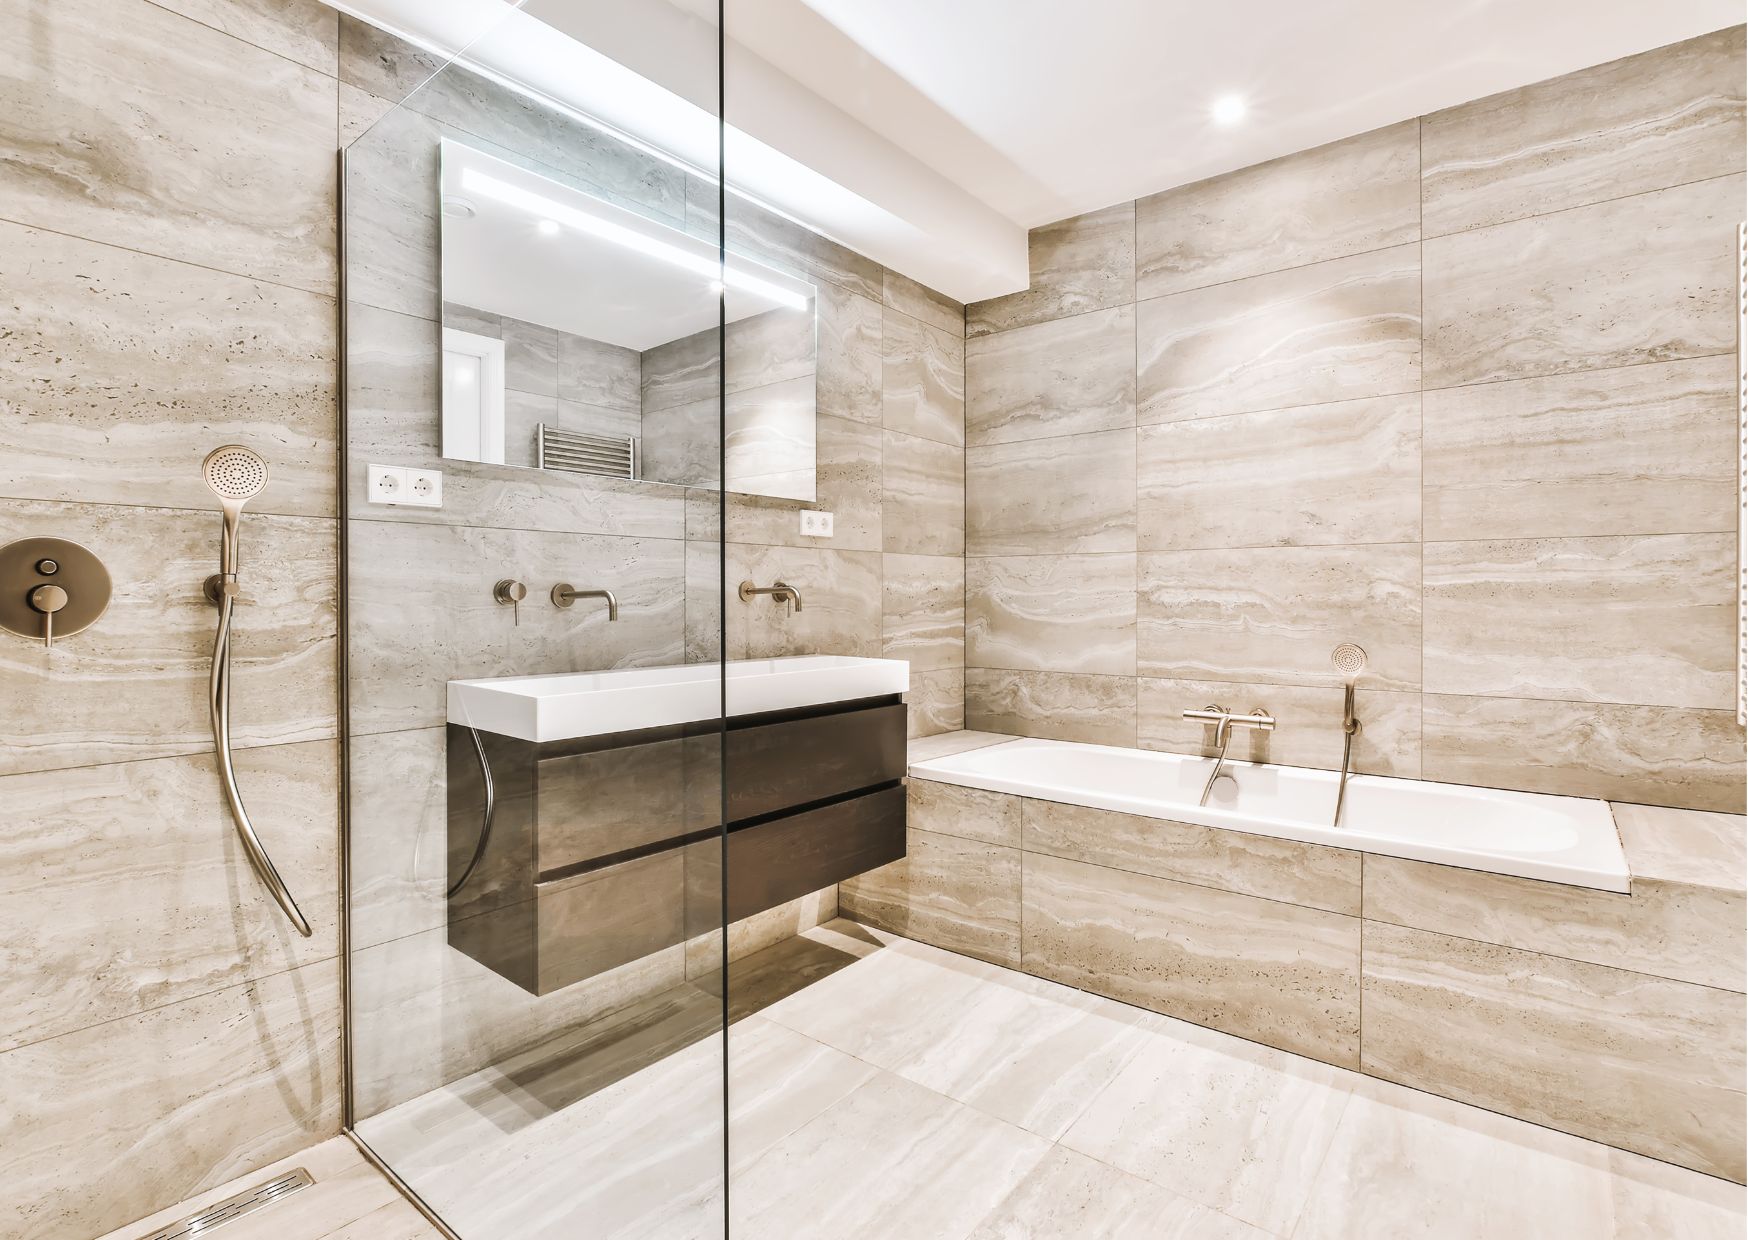
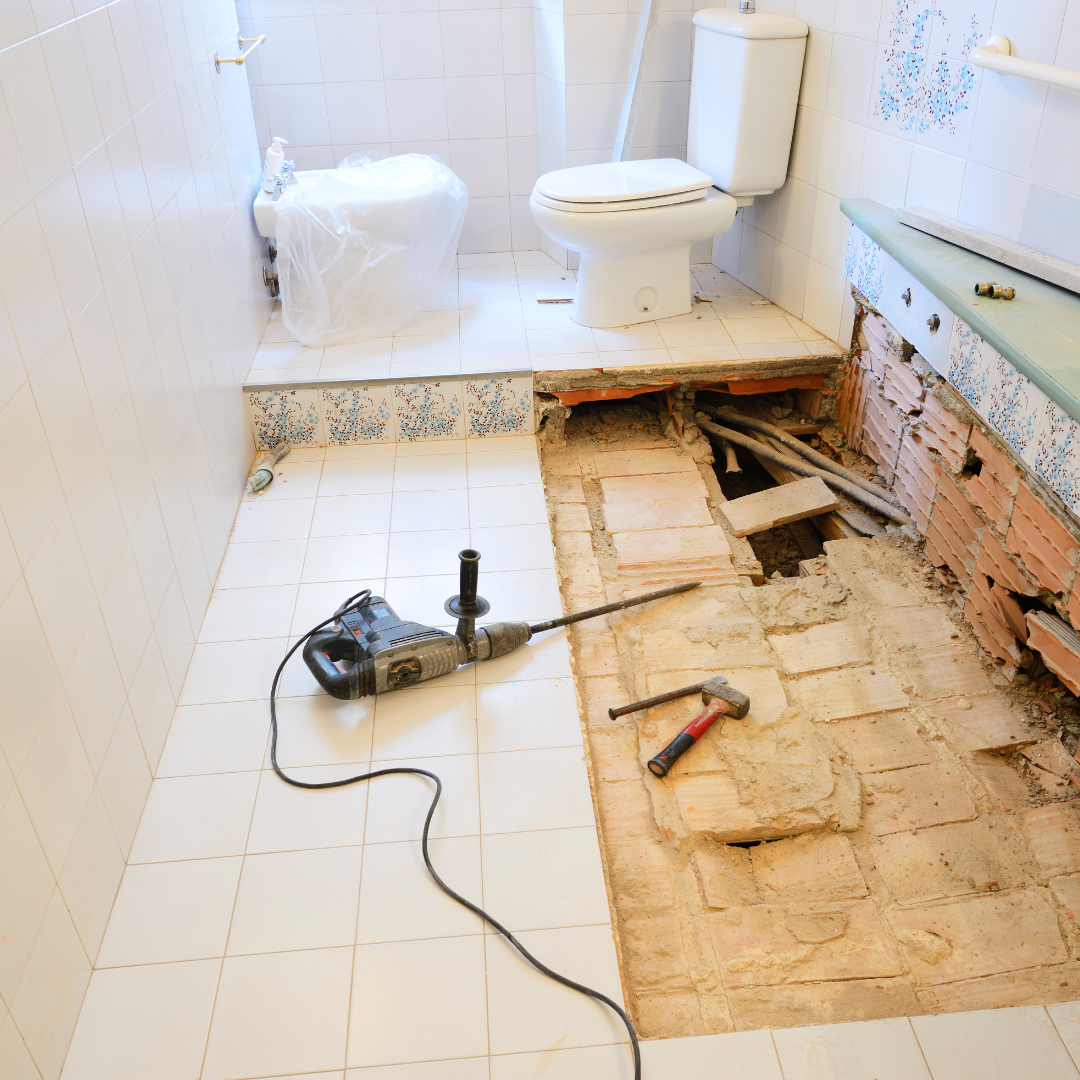
Smart Strategies for Bathroom Remodeling

Here’s how to get the bathroom of your dreams without making your budget a nightmare.

1. Stick to a Plan

A bathroom remodel is no place for improvisation. Before ripping out the first tile, think hard about how you will use the space, what materials and fixtures you want, and how much you’re willing to spend.

2. Keep the Same Footprint

You can afford that Italian tile you love if you can live with the total square footage you already have.

3. Make Lighting a Priority

Multiple shower heads and radiant heat floors are fabulous adds to a bathroom remodel. But few items make a bathroom more satisfying than lighting designed for everyday grooming. You can install lighting for a fraction of the cost of pricier amenities.

Home Care Blog August 8, 2023

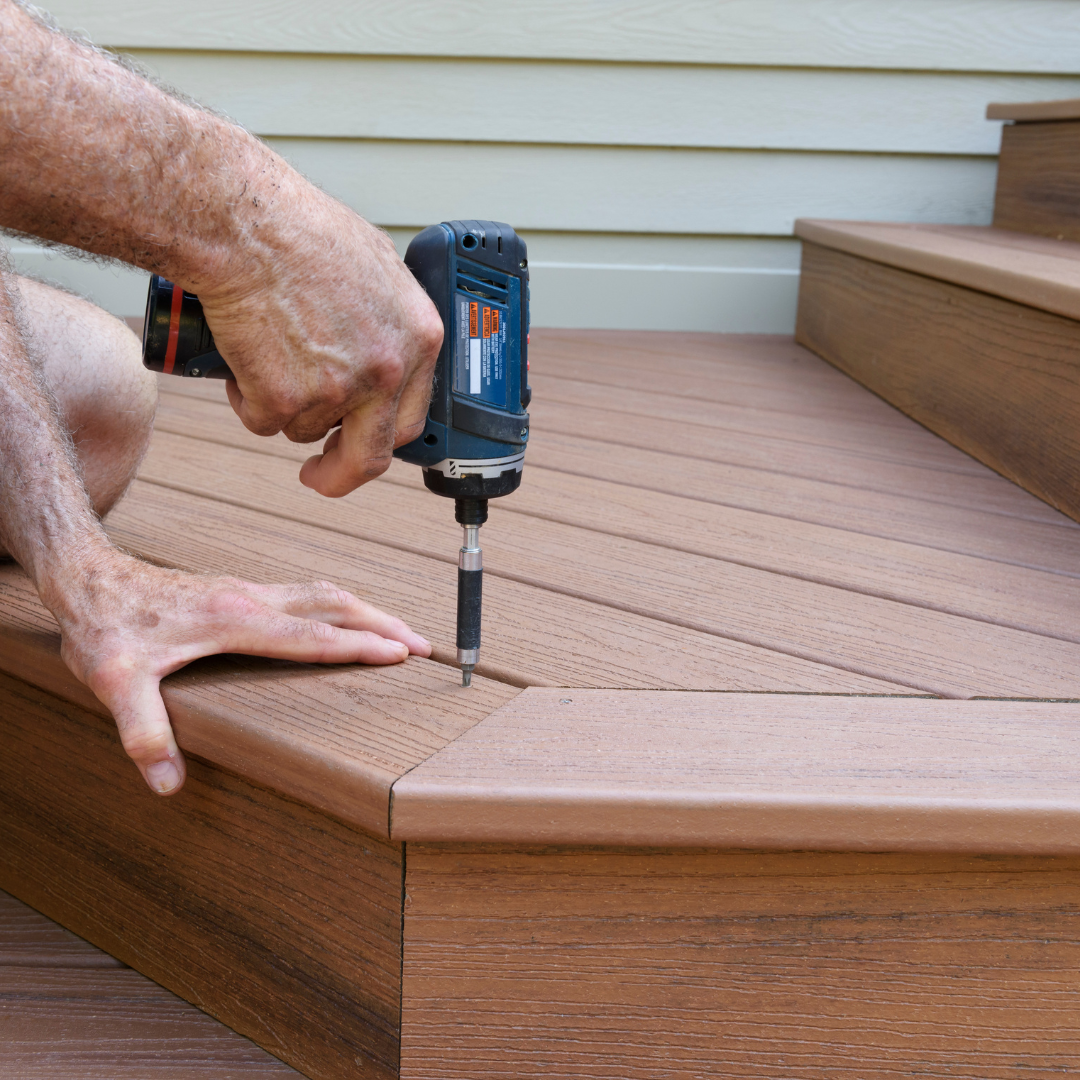
Deck Makeover Projects That Cost Less Than a Fancy Dinner Out

Want to upgrade your deck but watching your budget? Here are easy deck makeover ideas, many well under $300.

#1 Install a Stone Landing at the Foot of Your Deck Stairs

Dress up the transition from your deck to your yard with a little hardscaping — a stone landing at the bottom of your deck stairs. Stones are a natural compliment to wood decks, and they’ll help prevent mud from forming where there’s heavy foot traffic.

#2 Put Up a Privacy Screen

Whether you’re relaxing alone au naturel or entertaining friends, a little home privacy is always welcome. You can add some vertical supports and fill in a variety of cool screening materials that are as nice for your neighbors to look at as they are for you.

#3 Add Solar Lighting

Add lighting to your deck if you’re wanting your deck to come alive after dark. Try solar lights: you don’t need an on/off switch — they light up when it gets dark, then fade away 4-6 hours later.

Home Care Blog August 2, 2023

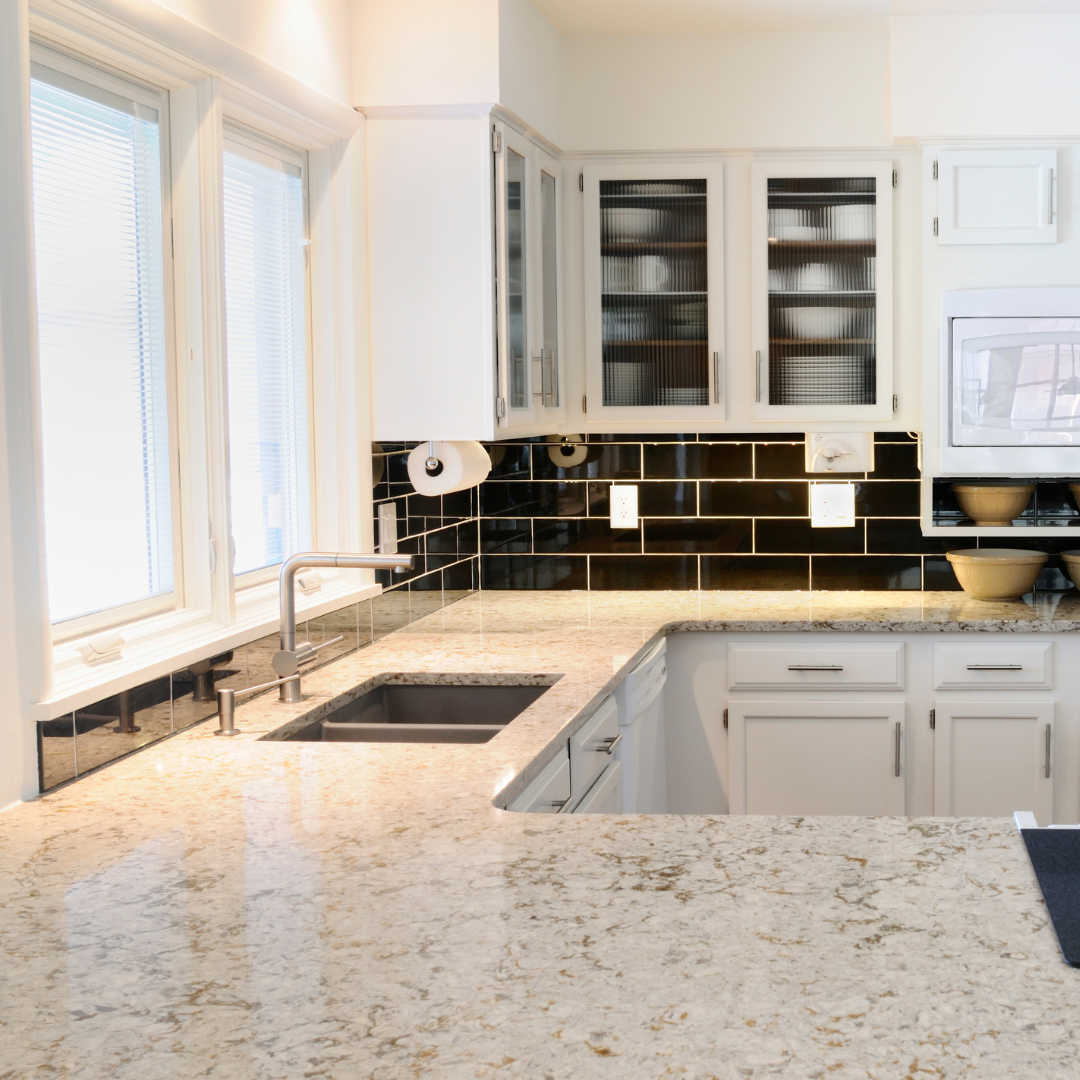
Zinc Countertops: Pros and Cons

A zinc countertop is hip, trendy, and very cool. But is it worth the price?

What’s Likeable About Zinc?

1. Zinc is a less-pristine alternative to stainless steel because it’s a “living metal” that changes color over time in reaction to its surroundings.

2. It’s naturally non-porous, so you can clean it with just soap and water.

3. It has anti-bacterial properties similar to copper, making it a great surface for prepping food.

4. The metal is easy to work with, so it’s easy to include decorative edges in various shapes and styles. Fabricators also can create an integral zinc sink by welding parts together and grinding seams smooth, making cleanup a breeze.

What’s Not to Like?

1. Zinc is soft, so it scratches easily if you cut directly on it. Be sure to have cutting boards handy.

2. It can warp if someone sets down a pot hotter than about 300 degrees (set down a red-hot iron pot and the zinc could melt). Be sure to tell guests not to set hot items on your zinc countertop! Keep trivets nearby.

3. Price is an eye-opener. A zinc countertop costs $150 to $200 per sq. ft., depending on the thickness of the metal (you’ll want 15-gauge material that’s at least .060 thick). Stainless steel costs less, and granite is even cheaper.

Other Cost Considerations

1. Zinc is an expensive material that’s not for everybody. Make sure your decision to install a zinc countertop is in line with the style and features of other homes in your neighborhood. Less-expensive options may have a better return on your investment.

2. You’ll pay an additional 10% to 15% installation charge for unusual or complex countertop shapes.

3. Be sure to get several bids before committing to a zinc countertop. Ask if your countertop fabricator has had experience making zinc countertops, and ask to see examples of their work. Try getting bids from sheet metal fabricators, not just companies that specialize in installing countertops.

4. Some zinc sheets are “seconds” — meaning they already have stains and discolorations. If that kind of patina isn’t objectionable, you can save 10% to 20% on your countertop by opting for seconds.

Home Care Blog July 24, 2023

4 Ways to Erase Ugly Scratches From Wood Floors

Get your crayons out for the coolest solution of all.

Use Crayons and Sharpie Pens to Hide Small Scratches

Take some artistic license to hide minor scratches in wood floors by rubbing on stain-matching crayons and Sharpie pens. Wax sticks, such as Minwax Stain Markers, are great scratch busters because they include stain and urethane, which protects the floor’s finish.

Use Homemade Polish to Camouflage Scratches

Mix equal parts olive oil and vinegar, which work together to remove dirt, moisturize, and shine wood. Pour a little directly onto the scratch. Let the polish soak in for 24 hours, then wipe off. Repeat until the scratch disappears.


Home Care Blog July 17, 2023

Ideas and Tips for Finishing a Basement Ceiling

Finishing your basement ceiling instantly turns your basement into a living area. 

Hiding Everything with Paint

One of the fastest and most economical ways to finish a basement ceiling is to paint everything. A monochromatic ceiling disguises all the pipes and ductwork — it’s a technique often used in urban spaces that are converted to coffee houses and shops.

Installing Drop Ceilings

A drop ceiling (also called a suspended ceiling) completely covers pipes and ductwork. It’s a metal grid that hangs on wires attached to the joists. Lightweight acoustical panels slide into the grid to form a continuous ceiling surface.

Using Fabric

The simplest way to mask overhead pipes and ducts is with fabric. Nail or staple it to joists and let it hang down so it hides all that overhead stuff. It might make your basement look a sheik’s tent, but that’s not bad! Certainly better than pipes and cobwebs!

Home Care Blog July 3, 2023

Smart Tips for Choosing Bathroom Flooring

Choose the right bathroom flooring based on your priorities — cost, kids, safety, and eco-friendliness.

Mimics Wood but Is Durable

Luxury vinyl plank flooring comes in many styles and feels and looks like hardwood flooring. The planks are usually thicker and more durable that standard vinyl planks, which means they’ll stand up to wear and tear from kids and pets.

The Designer’s Choice

Ceramic tile bathroom flooring is the preferred choice of 64% of respondents, according to a survey by Floor Covering Weekly. With good reason: Ceramics come in a huge array of sizes and shapes, and can be mixed to create endless custom patterns. It’s the ultimate designer’s medium.

Best for Kids

Water, water everywhere! That pretty much sums up bath time at households with young children. In addition, kids have a knack for dropping the shampoo bottle and conducting bathroom experiments. If protection from water and stains is a high priority, sheet vinyl is the choice for you.

Home Care Blog June 27, 2023

Questions and Answers About Adding a Fireplace

If you want to add a fireplace to your existing home, ask yourself what value it brings to you and your property.

1. Is It Possible?

With the variety of fireplace options available today, from traditional wood-burning masonry to wall-mounted ventless units, it would be difficult to imagine a situation in which it would be entirely impossible to add a fireplace of some sort.


2. How Much Will It Cost?

Costs for materials and labor to add a new fireplace can run the gamut from several hundred dollars to $20,000 or more. Among the most popular options, a factory-built gas/propane fireplace unit runs about $2,000 for a basic materials package; add to that at least another $5,000 for the cost to hire professional tradespeople to cut a hole in an exterior wall, frame and build a chimney, install the fireplace, and add a surround and mantle.


3. Will I Recoup My Up-Front Costs?

A fireplace generally isn’t calculated separately in a professional home appraisal, though real estate salespeople often consider it to be a hot button among potential buyers.

Home Care Blog June 19, 2023

Simple 5-Step Guide to Concrete Painting

Painting concrete surfaces requires more skill, tools, and time than throwing a coat on drywall. Here’s how to do it right.

3. Seal Interior Concrete

Water moves easily through porous concrete, so sealing interior walls is necessary to prevent moisture from seeping in, promoting mold growth and that cold, damp basement feel. Use a masonry sealer, such as ThoroSeal, that also patches cracks.


4. Prime the Concrete

Concrete primer, called block primer, fills pores and evens out the surface.

5. Paint the Concrete

Masonry paint (also called elastomeric paint or elastomeric wall coating) is a good choice for concrete painting because it contains binders that contract and expand with the concrete.